
Fix a grainy photo by running noise reduction in a photo editor, handling color noise first and then luminance noise, and stopping before skin and textures turn waxy. For future shots, add light, keep ISO as low as the scene allows and avoid brightening dark photos after the fact.
What makes a digital photo look grainy
That speckled look is digital noise. A camera sensor records light as a signal, and in dim scenes the signal is weak, so random electronic variation becomes visible. Raising ISO amplifies the signal to brighten the image, but it amplifies the noise along with it. As Nikon puts it, raising the ISO brings an increase in noise.
Sensor size plays a part too. Larger sensors with bigger pixels gather more light per pixel, which is why full-frame and other large-sensor cameras stay cleaner at high ISO than a small phone camera. Underexposing a shot and then brightening it in an editor makes things worse, because you are lifting the noisiest part of the file.
Luminance noise versus color noise in your editor
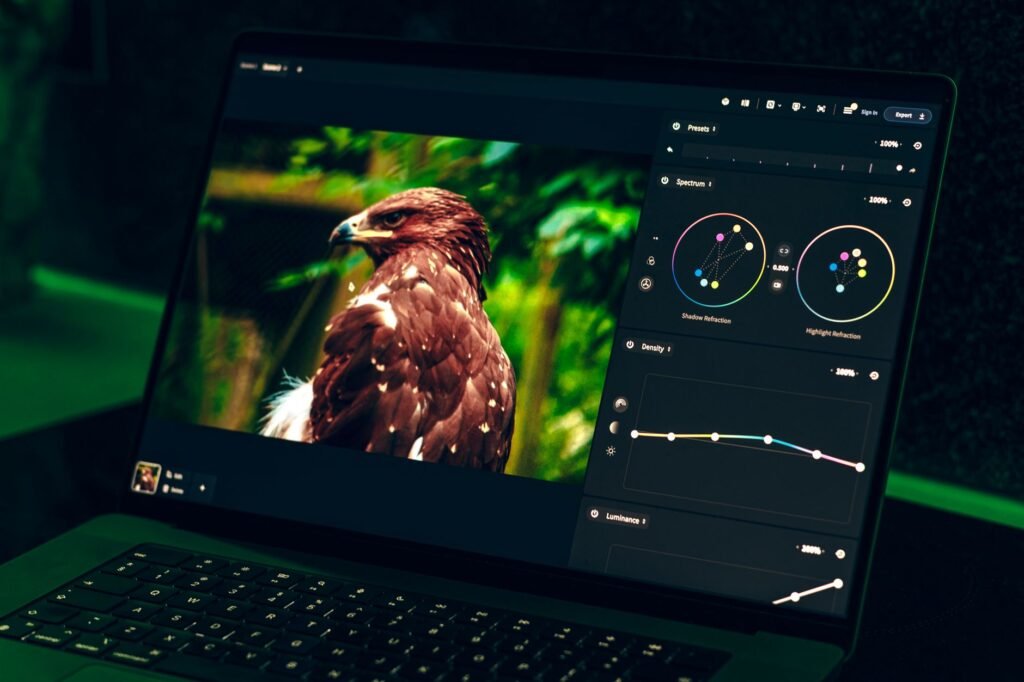
Most editing apps split noise reduction into two controls, and they fix different problems.
| Type | What it looks like | How to treat it |
|---|---|---|
| Color noise | Red, green and blue blotches, most obvious in shadows and flat areas like sky | Raise the color slider until the blotches turn neutral; it rarely costs detail |
| Luminance noise | Gray, sandy speckle that resembles film grain | Raise gradually; too much smears fine texture |
| Detail or sharpening controls | Edges that go soft after noise reduction | Restore a little edge detail, but sharpen gently |
Color noise tends to look worse than luminance noise, so removing it alone often makes a photo acceptable.
Cleaning up a grainy shot step by step
- Duplicate the photo so the original stays untouched.
- Edit the RAW file if you have one; it holds more data and responds better to noise reduction than a JPEG.
- Zoom to 100 percent on an area with shadows and fine detail, such as hair or foliage.
- Remove color noise first, then add luminance reduction slowly until the speckle softens.
- Try the app’s AI denoise feature if it has one, and compare the result with the manual version.
- Add back a touch of sharpening or texture, watching faces for a plastic look.
- Consider converting to black and white, where leftover grain often looks intentional.
- Export at the size you need. Shrinking an image for the web also hides noise.
Work on the whole image first. Then, if your app has a brush or mask, apply heavier reduction only to smooth areas like sky or a blank wall, where noise shows most, while leaving eyes, hair and fabric sharper.
Phone photos that come out grainy indoors
Phones use tiny sensors, so dim rooms push them into high sensitivity quickly. Turn on more lights or move your subject toward a window before you shoot. Let night mode run when it appears, and hold still for the whole capture, bracing your elbows or resting the phone on something solid.
Avoid digital zoom, which crops and enlarges the noise; step closer instead. Wipe the lens, since smudges add haze that editing can’t fix. After the fact, many phone gallery apps and free editors include a noise or smoothing slider that works on the same principles as desktop software.
Camera settings that keep grain from appearing
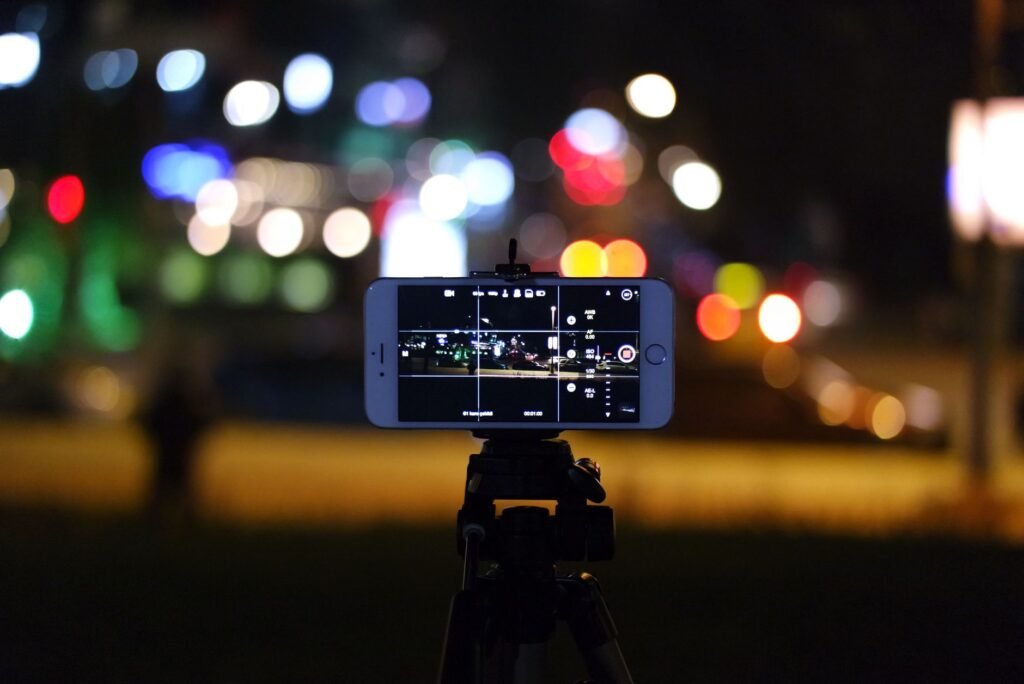
The cleanest fix happens before you press the shutter. Use the lowest ISO that still gives a sharp shot. Open the aperture wider to let in more light, and use a slower shutter speed on a tripod when your subject isn’t moving. Expose the image properly rather than darker than it needs to be. When you have to push ISO, shoot RAW so you can apply stronger noise reduction later.
If a moving subject rules out a slow shutter, accept some grain. A sharp, slightly noisy photo usually looks better than a clean but blurry one, and noise reduction can soften grain far more easily than any tool can repair motion blur.
Frequently asked questions
Can you fix a grainy photo without losing detail?
You can reduce grain a lot, but every method trades away some fine detail. Color noise removal costs very little. Luminance reduction softens texture, and AI denoise tools usually keep more detail than older sliders. Zoom in while editing and stop as soon as faces or fabric start looking smooth and artificial.
Why are my old scanned photos grainy?
Scans of film prints and negatives often show real film grain, which comes from the film itself rather than digital noise. Scanning at a higher resolution and using gentle noise reduction can soften it, but some grain is part of the original image and is usually best left in place.
Does upscaling make grainy photos worse?
Basic enlargement stretches noise along with everything else, so grain becomes more visible. Some AI upscalers reduce noise while enlarging, with mixed results on faces and text. Clean up noise at the original size first, then upscale, and compare the result at the size you plan to print or share.
How do you fix grainy photos in Lightroom?
In Lightroom Classic, open the Develop module's Detail panel. For raw files, choose Denoise, Adobe's AI tool, and set its strength with the slider, ideally before other edits. For JPEGs and other files Denoise does not support, use the Noise Reduction sliders there, Color for colored speckles and Luminance for gray grain, zoomed to at least 100 percent.
How do you fix grainy photos in Photoshop?
Use the Reduce Noise filter, which Adobe groups under the Filter menu's Noise category, and adjust it while zoomed to 100 percent so you can watch fine detail. Adobe suggests applying filters to a Smart Object layer so you can change or remove them later. For raw files, Camera Raw also offers Adobe's AI Denoise.