
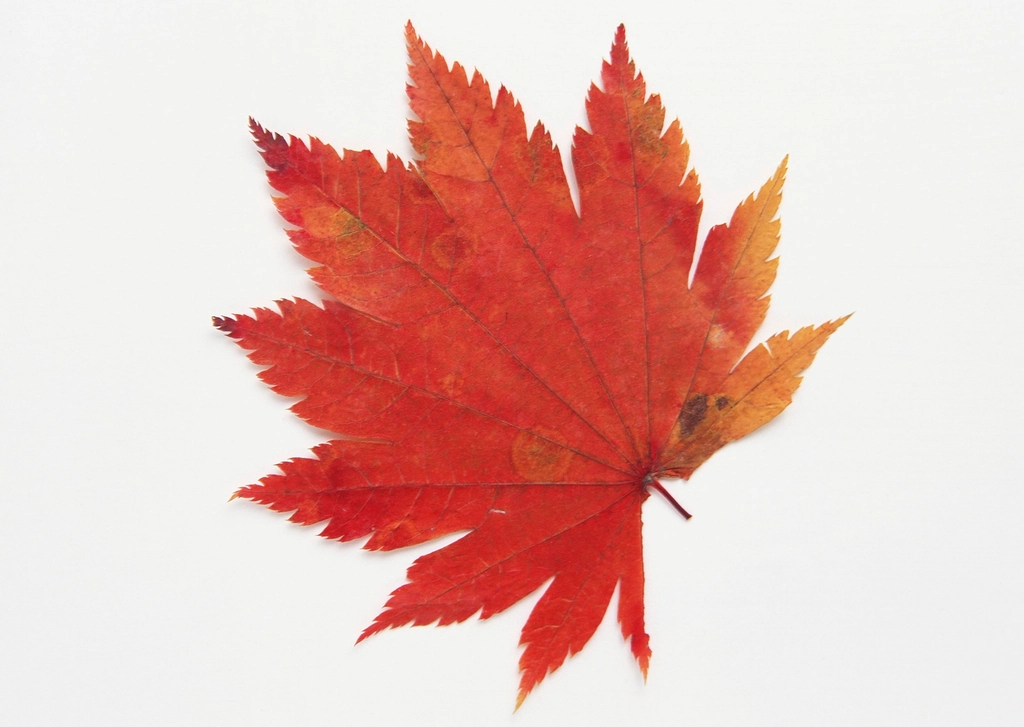
Build from the stem outward, not from the outline inward. Drawing the silhouette first is why most attempts end up as a blob with points.
The shape, step by step
- Paint a short stem angled slightly off vertical near the base of the nail.
- From the top of the stem, paint one point straight up. This is the center lobe.
- Add one point to each side at roughly forty five degrees, slightly shorter than the center.
- Add two more points lower down and shorter still, angled almost sideways.
- Fill between the points with a soft curve rather than a straight line, so the edges scallop inward.
- Once dry, add veins in a darker shade: one up each point from the stem.
Five points is the number that reads as maple. Three looks like a generic leaf, seven turns into a snowflake at small scale.
The brush and the polish thickness
Points need a tool that comes to a tip. A striping brush or a short detail brush will do it; the brush in the bottle will not, unless you wipe it almost dry against the neck first. Load from a drop of polish on a piece of foil rather than straight from the bottle, because that is the only way to control how much sits on the bristles.
Consistency matters as much as the brush. Polish that has thickened in the bottle drags and rounds every point you try to pull. A drop of polish thinner brings it back; remover does not, and will leave the finish dull and prone to bubbling. Thinner and remover are flammable solvents, so open a window, stay away from lit candles, and never decant them into a bottle that has held bleach or a household cleaner.
Color makes it convincing
| Combination | Effect |
|---|---|
| Burnt orange into deep red | The most realistic blend |
| Mustard into rust | Drier, later in the season |
| Green into gold | A leaf mid-turn, less common and more interesting |
| Single deep red with gold veins | Stylized rather than realistic |
Two colors blended while wet beats one flat color every time, because real leaves are never one shade. Drop both onto the shape and swirl once with a toothpick.
The sponge shortcut
If the shape defeats you, skip it. Sponge a warm gradient across the whole nail using two or three autumn shades, let it dry, then paint only a stem and a few veins radiating from it. The eye completes the leaf from those cues alone, and the result often looks better than a carefully outlined shape because it avoids the hard edges that make small drawings look flat.
Why it goes wrong on short or curved nails
Five points need length to separate. On a short nail they collide into a rosette, so drop to three points, stretch the stem, and run the whole leaf corner to corner on the diagonal, which is the longest line the nail offers.
A strongly curved nail hides its own sides. A leaf centered on that curve loses its outer points at normal viewing angle, so move the anchor toward the middle of the face you actually see when your hand is relaxed. Over a dark base the warm shades go muddy as well, and the fix is a thin patch of nude or white underneath the leaf only, not a full lighter coat.
Placement across a set
One leaf on each of two nails, with the rest in a plain autumn shade, reads as a design. A leaf on all ten reads as wallpaper. If you want more than two, vary the size and angle so they look scattered rather than stamped.
Sealing without smearing
Veins are the last detail and the easiest to ruin. Let them dry a full ten minutes, not two, then apply topcoat with a floating motion so the brush rides on the polish rather than touching the paint. A quick-dry topcoat is the wrong choice here, because the solvents in it are exactly what lift fine detail.
A quick check before the topcoat goes on
Photograph the hand and look at the picture rather than the nail. At that size a wrong silhouette is obvious and no amount of vein detail rescues it. Three things should be true: five points visible, the center one clearly longest, and the gaps between them uneven.
Then test for dry rather than guessing. Press the very edge of the polish, away from the design, with the pad of a finger. Any give at all means the layer underneath is still soft, and a topcoat over soft polish is what drags veins into smears.