
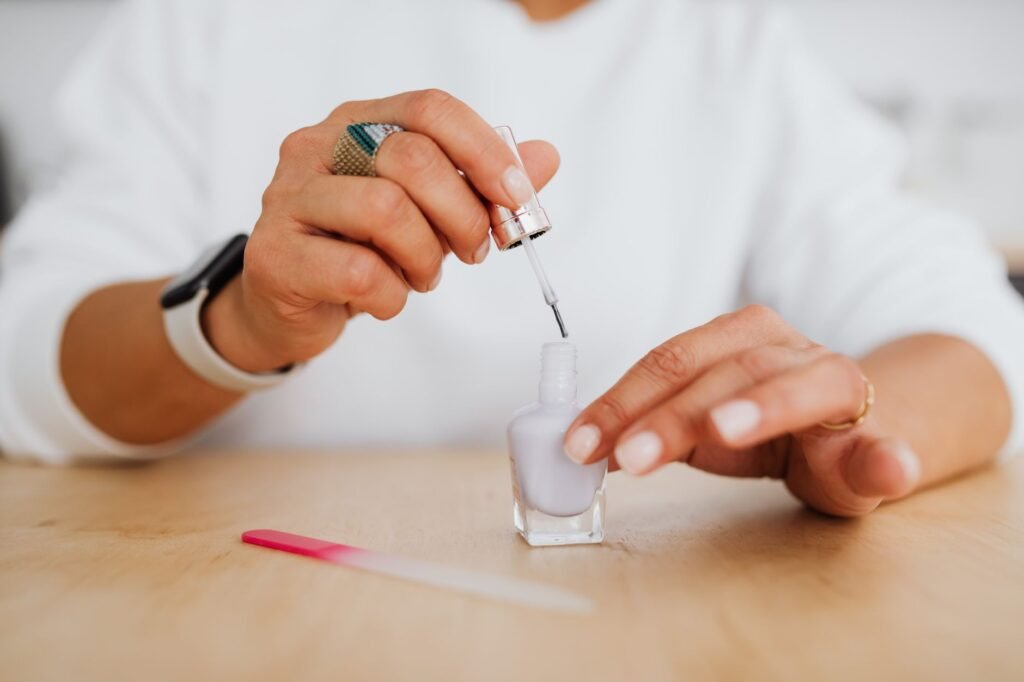
Thin coats and full drying time matter more than any technique. Most home nail art looks homemade because of impatience, not lack of skill.
Designs with no tools at all
- Negative space half moon. Leave the crescent at the cuticle bare. Paint from a couple of millimeters up. No steady hand needed because the shape is forgiving.
- Color blocking with tape. Base coat, dry fully, tape a straight edge, paint the second color, peel the tape while the polish is still slightly wet.
- Accent nail. One nail in a contrasting color or finish. The lowest effort design that still reads as deliberate.
- Gradient tips. Sponge a second color onto the tip with a makeup sponge, dabbing rather than wiping.
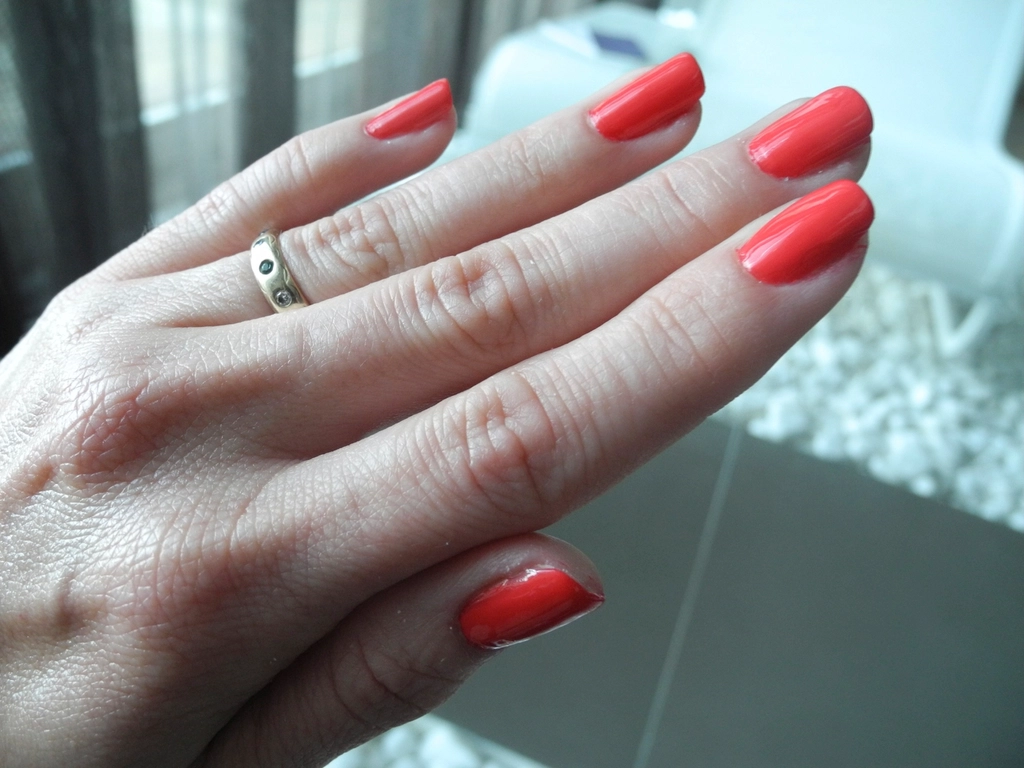
Designs with a toothpick
- Dots. Drop polish onto foil, dip the toothpick tip, touch down. Different pressure gives different sizes.
- Flowers. Five dots in a circle around a sixth. Drag each outer dot slightly toward the center while wet.
- Drips. A line along the cuticle with short pulls downward, thicker at the top.
- Marble. Two colors side by side while wet, then swirl once with the toothpick. Once, not repeatedly, or it turns muddy.
Tape that lifts polish and tape that does not
Most failed tape manicures fail at the peel. Clear office tape and packing tape grip hard enough to take the layer beneath them, so the base comes away in a sheet. Low tack painter’s tape is the one that behaves, and even that should be dulled first by pressing the strip onto the back of your hand once or twice before it touches a nail.
Two other details decide how crisp the edge looks. Cut the strip with small scissors instead of tearing it, because a torn edge prints fuzzy every single time. Then peel it back across itself at a shallow angle while the second color is still wet, rather than straight upward after everything has hardened.
A setup that removes most of the cleanup
- Use foil as a palette. A square of kitchen foil keeps a puddle workable for a few minutes, where paper drinks the solvent and leaves you dragging a gummy bead around.
- Ring the cuticle with balm. A thin line of lip balm around the skin, kept off the nail plate itself, means stray color lifts away with the balm.
- Light from the side. Overhead light hides ridges and thick spots. A lamp set low and off to one side shows them while there is still time to fix them.
- Start with the awkward hand. Your steadier hand paints it better at the start of the session than at the end of it.
Polish and remover both put fumes into a small room faster than people expect, so open a window before you sit down, and keep open bottles away from a lit candle or a heater.
The three habits that decide the result
- Two thin coats, never one thick one. Thick polish stays soft underneath for hours and dents at the slightest contact.
- Wait properly between layers. Surface dry is not dry. Detail painted onto a surface-dry layer sinks and blurs.
- Clean the edges last. A small brush dipped in remover, run around the cuticle and sidewalls, does more for a neat look than anything else on this page.

Knowing when a coat is ready for detail
Tap the surface with the pad of a finger, never a fingernail. A layer that is ready feels firm and makes no sound, while one that is not leaves a faint print you can spot by tilting the nail toward a light. Gloss is the second tell: an even sheen across the whole nail means it has set, and a duller patch in the middle means the polish under it is still soft.
Fixing mistakes without starting over
| Mistake | Fix |
|---|---|
| Smudge in wet polish | Add one more thin coat over it once dry |
| Polish on the skin | Small brush and remover, after everything has dried |
| Dot in the wrong place | Lift it with a clean toothpick tip immediately |
| Line went crooked | Paint over with the base color and redo |
| Bubbles in the polish | Rolling the bottle instead of shaking prevents them next time |
The step people skip
Capping the free edge means running the brush along the thin front edge of the nail rather than only across the top. It takes two seconds per nail and it is the single biggest factor in whether a manicure chips on day two or lasts the week. No amount of art improves a manicure that has already chipped.