
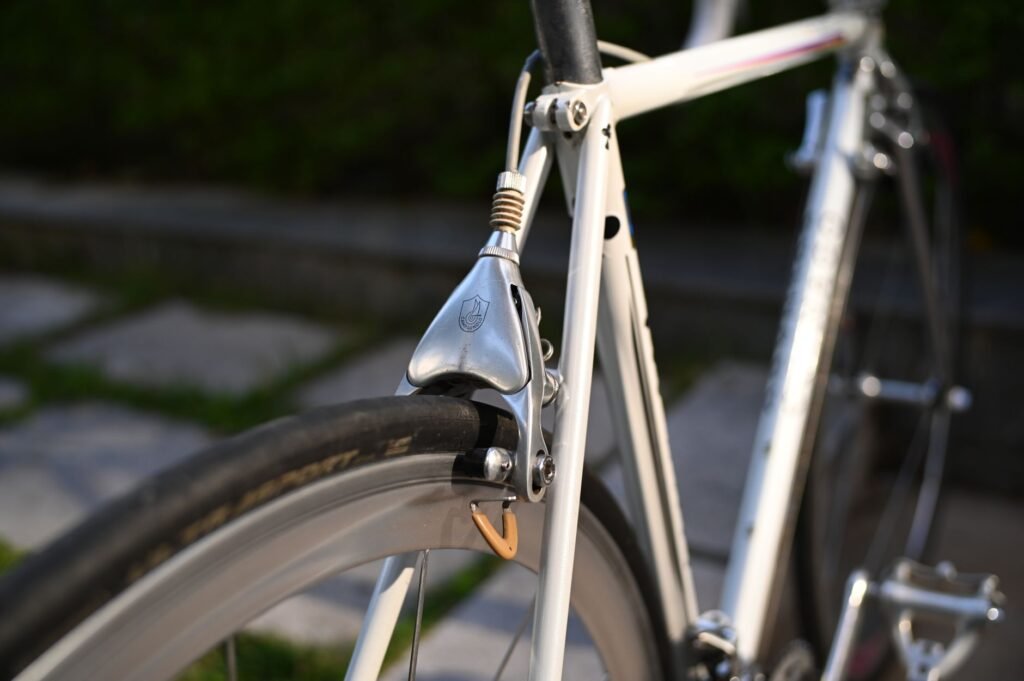
You adjust most bicycle brakes in two places, the cable tension at the barrel adjuster and the position of each pad against the rim or rotor. A lever that pulls too far needs more tension, a wheel that drags needs centering, and pads that miss the braking surface need realigning with a hex wrench.
Figure out which brake type is on your bike
The fix depends on the hardware, so spend thirty seconds looking before you grab a tool. Squeeze the lever and watch what moves.
| Brake type | How to recognize it | What you usually adjust |
|---|---|---|
| Linear pull (V-brake) | Two tall arms on posts, joined by a curved metal noodle | Cable tension, pad height, centering screws |
| Caliper | One horseshoe-shaped unit bolted above the tire, common on road bikes | Cable tension, pad height, caliper centering |
| Mechanical disc | Small caliper at the hub, cable running into it | Cable tension, pad adjuster knobs, caliper position |
| Hydraulic disc | Caliper at the hub, smooth hose instead of a cable | Caliper position and lever reach, since pads self-adjust |
Before touching anything, check the cable where it enters the lever and the brake. A frayed or rusty cable won’t hold an adjustment for long, and replacing it comes first.
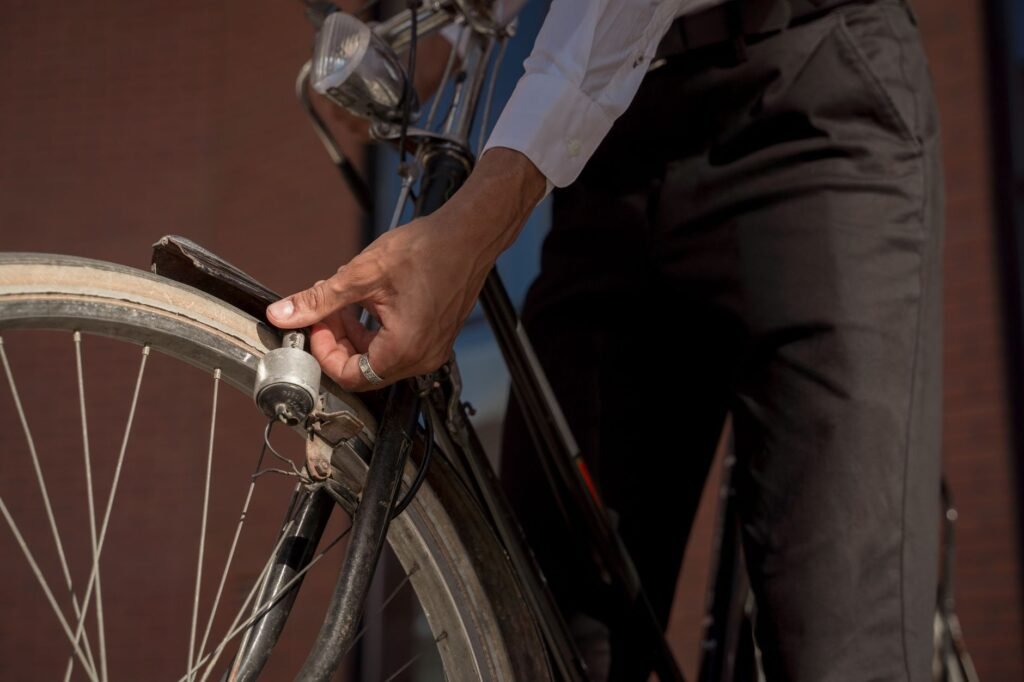
Taking up slack with the barrel adjuster
If the lever travels most of the way to the handlebar before the brake bites, the cable has stretched or the pads have worn. The barrel adjuster, a small threaded knob where the cable leaves the lever, is the quickest cure. Turning it out from the lever takes out slack, and turning it inward gives the cable more slack when the brake feels too tight.
Work in half turns and squeeze the lever after each one. When the adjuster runs out of thread, screw it most of the way back in, loosen the cable pinch bolt at the brake, pull a little cable through and tighten the bolt again. Then fine-tune with the barrel. Spin the wheel when you finish; a pad that now brushes the rim means you went a bit too far.
Setting rim brake pads on the braking surface
Pads on V-brakes and calipers are held by a single nut or hex bolt. Loosen it just enough that the pad can pivot, squeeze the lever so the pad sits on the rim, then tighten while holding the lever.
- Set the pad at the top edge of the rim’s braking surface, never so high that it can touch the tire.
- Keep the pad level with the rim, not tilted up or down.
- Give the front edge of the pad a slight lead so it touches first. A folded rubber band tucked behind the rear edge while you tighten makes this easy.
- Recheck after a few rides, because pads creep downward as they wear.
That small toe-in tends to cut down on squeal. If the brakes stop well but still squeal, that’s a separate job, covered in our guide on how to fix squeaky brakes.
Centering a brake that drags on one side
When one pad sits closer to the rim than the other, the wheel rubs and you lose power. On V-brakes and many calipers, each arm has a small screw on its side that sets spring tension. Tightening that screw pulls its own arm away from the rim, and loosening it lets the arm drift closer. Turn one screw a quarter turn at a time and squeeze the lever between tweaks so the springs settle.
Single-bolt road calipers often have no centering screws. On those, loosen the mounting bolt behind the fork or frame, hold the caliper centered by hand, and retighten.
When a disc brake rubs or the lever feels soft
A light rhythmic rub on a disc brake usually means the caliper sits slightly off center over the rotor. A common approach is to loosen the two caliper mounting bolts, squeeze and hold the lever so the pads grip the rotor, then snug the bolts back up. Mechanical disc calipers also have pad adjuster knobs, so you can bring the fixed pad closer as it wears.
A hydraulic lever that feels spongy or sinks to the bar is a different problem. That usually points to air in the line or a leak, and bleeding the system calls for the brake maker’s kit and instructions. If you aren’t set up for it, a bike shop can do it quickly. Either way, test the brakes at walking speed before you ride anywhere with traffic.
Frequently asked questions
Which way do I turn a bike brake barrel adjuster to tighten the brakes?
Turn the barrel adjuster out from the lever, which lengthens the cable housing and removes slack, so the brake engages sooner. Turning it back in loosens the brake. Go in half turns, squeeze the lever between each one, and spin the wheel to confirm nothing rubs.
How do I know when bike brake pads need replacing?
Most rim pads have grooves molded into the rubber, and once those grooves are worn away the pad is due. Disc pads are thin, so check the remaining friction material with a light. If you hear metal scraping or stopping gets weak after an adjustment, replace the pads.
Can I adjust bike brakes without special tools?
For basic jobs, yes. A set of hex wrenches covers most pad bolts, cable pinch bolts and caliper mounts, and the barrel adjuster turns by hand. A small Phillips screwdriver handles most centering screws. Bleeding hydraulic brakes is the exception, since it needs a brand-specific kit.
How do you bleed bike brakes?
With the pads removed and a bleed block fitted, push fresh fluid through the hydraulic line using the brake maker's bleed kit until no air bubbles come out. Trapped air compresses and makes the lever feel soft. Use only the fluid your brake specifies, mineral oil or DOT fluid, since mixing them can cause brake failure.
How do bicycle brakes work?
Squeezing the lever pulls a cable, or on hydraulic brakes pushes fluid through a hose, and that force presses pads against a braking surface. Rim brakes grip the edges of the wheel rim, while disc brakes clamp a metal rotor at the hub. Friction between pads and surface turns the bike's motion into heat and slows the wheel.