You do 3D nail art by building raised shapes on top of a finished manicure, using thick sculpting gel, a small bead of acrylic, or glued-on charms, then sealing around the edges. Gel gives beginners the most control, because nothing hardens until you cure it under a lamp.
Three ways to build height on a nail
Every raised design comes down to one of three materials. They differ in how fast they set, how much mess they make, and how forgiving they are while you shape them.
| Method | What sets it | Good for | Beginner friendly? |
|---|---|---|---|
| Sculpting or 3D gel | A UV or LED nail lamp | Flowers, bows, droplets, soft rounded shapes | Yes, you can reshape until you cure |
| Acrylic liquid and powder | Air, within a short working window | Crisp petals, carved details, hard edges | Harder, it firms up while you work |
| Charms, studs and rhinestones | Nail glue or a gel adhesive | Instant texture, bling, metal accents | Yes, mostly about placement |
| Stacked dots of regular polish | Air drying between layers | Subtle raised dots and lines | Yes, but slow |
Start with a base color that is fully dry or fully cured. Raised work laid on soft polish drags the color underneath and leaves a smudge around the design.
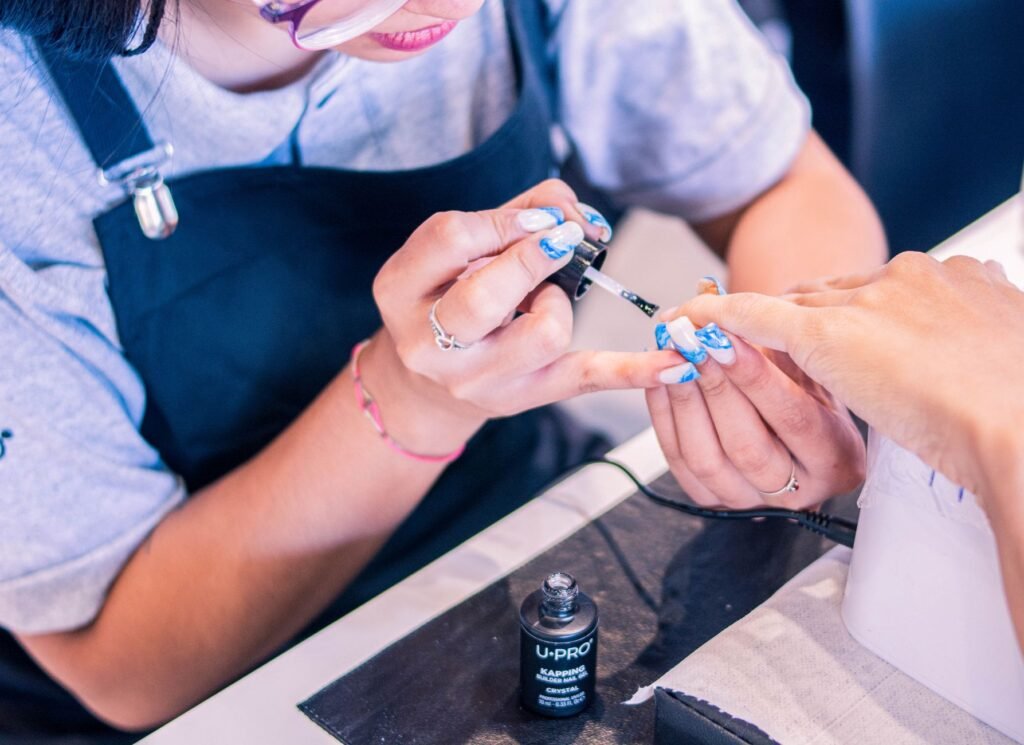
Sculpting a raised gel flower, petal by petal
A thick gel that holds its shape is the product to use here. Thin builder or color gels slump before you can cure them.
- Wipe the finished base with the cleanser your gel system recommends so the new gel grips.
- Pick up a bead of sculpting gel on a small flat brush or a silicone tool, about the size of one petal.
- Press it onto the nail, then pull the outer edge into a point or a curve with the tool.
- Flash cure that petal for a few seconds so it stops moving, then add the next one beside it.
- Finish with a dot of gel or a tiny stone in the center, and give the whole flower a full cure.
- Brush top coat around the base of the flower, not over the peaks, and cure again.
Cure times depend on the lamp and the gel, so follow the times printed on the product rather than a number you saw in a video. Keep uncured gel off your skin, and clean any that lands on the cuticle before it goes under the lamp.
Working with an acrylic bead when you want sharper edges
Acrylic is what salon techs use for carved roses and very defined shapes. You dip a brush in the liquid monomer, touch it to the powder, and a wet bead forms on the tip. That bead is then pressed and flattened into shape before it hardens.
It rewards speed and a steady hand, which is why many people practice on plastic nail tips first. The liquid also has a strong smell, and the FDA advises good ventilation whenever you use nail products. Open a window or work near a fan that pulls air away from your face.
Once the shapes are hard, a gel or regular top coat seals them. Buff away any sharp point that could catch on sweaters or hair.
Making charms and rhinestones stay put
Most charms fall off because they were stuck onto a slick top coat with too little adhesive. Put a small dab of gel adhesive or thick gel where the charm will sit, press the charm in with tweezers or a wax pencil, and cure it. Then run a thin line of gel around its base so the edges are locked in.
Flat backed pieces hold better than domed ones, and placing them near the middle of the nail keeps them away from the free edge that takes the most knocks. On short nails, one statement charm per hand usually looks better and lasts longer than a crowded cluster.
Why raised designs pop off after a few days
Three things cause most early losses. The base was not prepped, so the whole manicure lifts and takes the art with it. The raised piece was cured on top of a sticky surface without enough product underneath. Or the design sits so high that it snags every time you reach into a pocket.
For removal, soak or file away the top coat and let the product soften according to its instructions. Prying a charm off tends to peel the top layer of the nail with it. If the skin around your nails turns red, itchy or swollen after a gel or acrylic session, stop using the product and talk to a doctor or dermatologist, since some people react to these materials.
Frequently asked questions
Can you do 3D nail art with regular nail polish?
Yes, on a small scale. Let a dot of thick polish dry, then add another dot on top, and repeat until it stands up. It takes patience because each layer needs to dry, and the result is subtler than gel or acrylic, but it works for raised dots and simple lines.
Do you need a UV lamp for 3D gel nail art?
Yes. Gel stays soft until it is cured under a UV or LED nail lamp, which is what lets you shape it slowly. Check that your lamp matches the gel you bought, since the product label lists the type of lamp and the cure time it was designed for.
How long does 3D nail art last?
It depends on the prep, the material, and how you use your hands. Well sealed gel or acrylic designs often last as long as the manicure under them, while charms on busy hands are the first to go. Wearing gloves for dishes and cleaning helps every type last longer.
How do you clean nail art brushes?
Match the cleaner to what is on the brush. Swish gel brushes in gel cleanser or alcohol, then press them dry between paper towels. Clean acrylic brushes in monomer, never acetone, which can dry out the bristles after one wash. Brushes for water based paint need only lukewarm soapy water and a cool rinse. Reshape the tip.
How do you remove 3D nail art?
Start by filing down the raised shapes and the top coat over them, then remove the gel or acrylic underneath as its instructions direct, usually by soaking until it softens. Push the softened product away gently instead of prying. Let charms lift off with it, since forcing them can peel the top layer of your nail.