
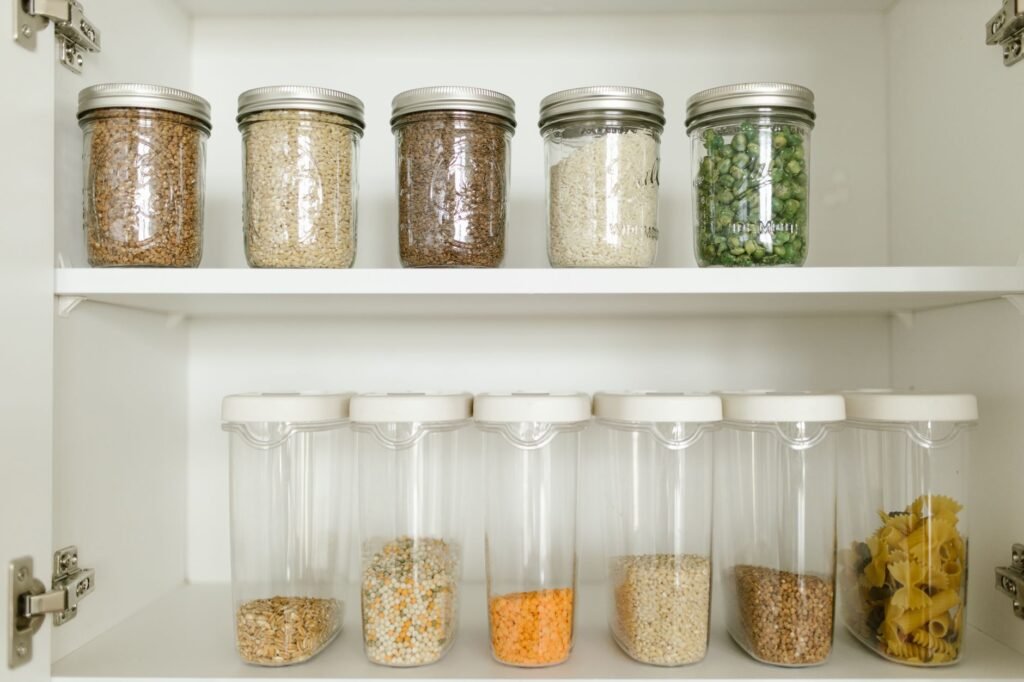
Organize a pantry by emptying it completely, sorting what you keep into groups, and giving each group a zone based on how often you reach for it. Move opened dry goods into airtight containers, label them with dates, and put newer items behind older ones so nothing expires hidden at the back.
Empty the shelves and sort before buying containers
It is tempting to start with a cart full of matching bins, but you cannot size containers until you know what you own. A full clear out takes an afternoon and saves you from buying bins that do not fit.
- Take everything out and put it on the counter or table.
- Throw away anything expired, stale or showing signs of pests, and set aside unopened food you will not eat for a food bank.
- Group what remains by type, such as baking, breakfast, grains and pasta, canned goods, snacks and sauces.
- Vacuum the shelves and corners, then wash them with soap and water and let them dry.
- Measure how deep and how tall each pantry shelf is before buying any containers.
The groups you end up with will tell you how many containers you need and what size they should be.
Zoning pantry shelves by how often you reach
A pantry works best when the things you grab daily sit where your hands naturally go. Save the hard to reach spots for backstock and once a year items.
| Shelf position | What belongs there |
|---|---|
| Top shelf | Backstock, holiday baking supplies, light bulky items like paper towels |
| Eye level | Everyday foods such as cereal, snacks, pasta, rice and cooking oils |
| Waist level | Canned goods, sauces, baking basics and anything kids should reach |
| Floor | Heavy items like bulk bags, drinks and potatoes or onions in ventilated bins |
| Door or wall | Spices, packets, foil and wraps in slim racks |
Keep each group together inside its zone. When all the pasta lives in one bin, you can see at a glance what is running low.
Airtight containers keep pantry moths and beetles out
Pantry pests arrive in packaged food and spread through thin paper and plastic. The University of California pest management program names the Indian meal moth as the most common moth in home food, along with several beetles that attack flour, grains and spices. It recommends storing food, including bulk pet food, in containers with tight fitting lids rather than plastic bags.
Check every package as you sort. Webbing inside the bag or tiny holes in the packaging are signs of infestation, and UC advises throwing out any food that shows them rather than spraying insecticides, which it does not recommend for pantry pests. For flours, grains and spices you use only occasionally, UC suggests the freezer as storage.
Labels and first in, first out rotation
Clear containers show what is inside, but not when you opened it. Label each one with its contents and the date you filled it. For foods that came with cooking instructions on the package, cut out the directions and tape them to the container.
When you unload groceries, put new items behind the ones already on the shelf. This first in, first out habit is how stores and restaurants rotate stock, and it keeps you using the oldest food first. The FDA advises checking canned goods for damage such as swelling, leaking, punctures, deep rust or dents severe enough to prevent normal stacking or opening, so take a look as cans move forward.
Making the most of a small pantry
Small pantries reward vertical space. Tiered shelf risers let you see the back row of cans. Turntables work well in deep corners for oils and sauces. Clear bins with handles slide out like drawers, so nothing gets lost in the back. An over the door rack holds spices and packets that would otherwise clutter shelves.
If there is no pantry at all, a single cabinet near the stove can take the eye level zone, with backstock stored elsewhere in labeled bins. Revisit the setup after a month, since the spots you actually reach for may differ from the plan.
Frequently asked questions
Should I take food out of its original packaging?
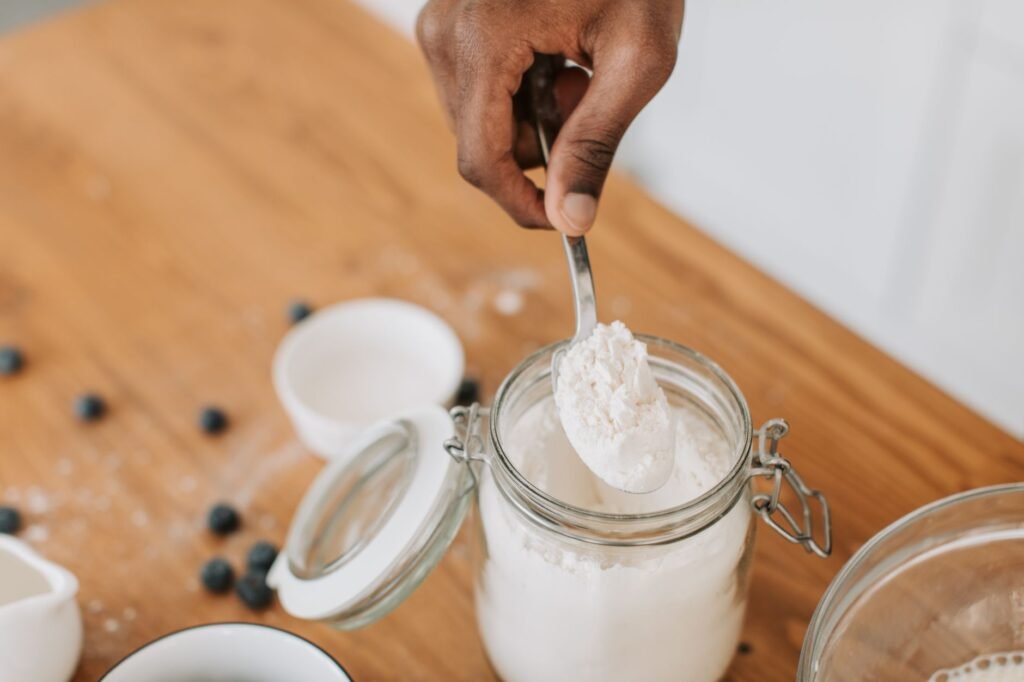
For opened dry goods like flour, sugar, rice and cereal, moving them into airtight containers helps keep out moisture and pests. Unopened cans and jars can stay in their packaging. Save cooking directions and any allergy information by cutting them off the box and taping them to the container.
How often should I clean out the pantry?
There is no set rule, but a quick check every time you make a grocery list catches expired items early, and a full empty and wipe down a few times a year keeps crumbs and pests from building up. Clean immediately if you spot moths, webbing or small beetles.
What should not be stored in the pantry?
Anything the label says to refrigerate after opening, such as many sauces and condiments, belongs in the fridge. Keep cleaning chemicals, pest products and anything flammable out of food storage entirely, and keep pantry food away from heat sources such as the oven or a sunny window.
How do you organize cans in a pantry?
Group cans by type, such as beans, tomatoes, soups and vegetables, and turn every label to face out. A tiered riser or a rack that rolls the oldest can to the front keeps them all visible. Put new cans behind older ones, and check for swelling, leaks or deep dents as you rotate them, as the FDA advises.
How do you organize deep pantry shelves?
Make the back of the shelf easy to reach. Clear bins with handles slide out like drawers, turntables bring corner items forward, and tiered risers lift back rows into view. Keep extra stock of an item directly behind its everyday supply, so the depth holds refills rather than food you forget about.