
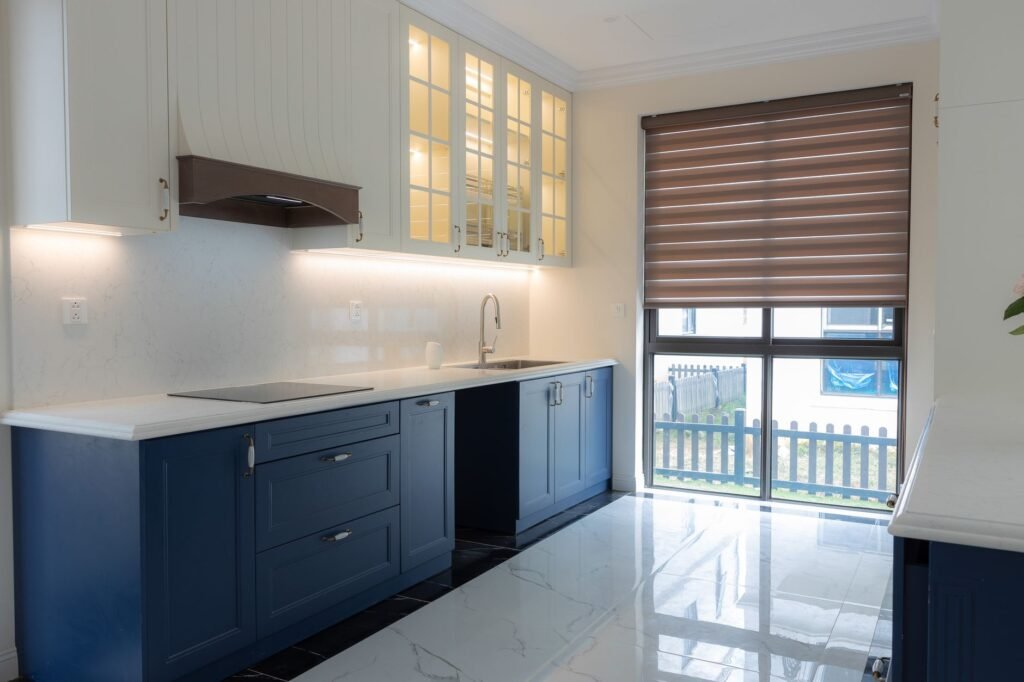
To paint kitchen cabinets, take off the doors and hardware, degrease every surface, scuff sand, apply a bonding primer, then brush, roll or spray two thin coats of cabinet enamel. Let each coat dry as the can directs and give the finish time to cure before rehanging. Prep is where most of the time goes.
Check the age of the old paint before sanding anything
If your home was built before 1978, the existing finish may contain lead, and sanding creates dust you don’t want in a kitchen. The EPA notes that homes from before 1978 are more likely to have lead based paint and that renovation work disturbing painted surfaces can create large amounts of lead dust. Its page on sources of lead covers the precautions.
Test first. Hardware stores sell lead test kits, and your state or local health department can point you to certified inspectors. If lead turns up, hire a lead safe certified contractor for the sanding stage rather than doing it yourself.
Newer cabinets still deserve a quick check of what you are painting over. Solid wood, painted MDF, thermofoil and laminate all take paint differently, and thermofoil that is peeling at the edges usually needs replacing, not painting.
Taking the doors off and labeling every piece
- Photograph the kitchen so you know which door went where and which way it opened.
- Label each door and drawer front with a number on painter’s tape, and put a matching number inside its cabinet opening.
- Unscrew hinges and pulls, and drop each set of hardware into a labeled zip bag.
- Pull the drawers out completely and set up doors flat on sawhorses or painter’s pyramids in a ventilated space.
- Cover countertops, floors and appliances with drop cloths before any sanding or priming starts.
Keep the number tape on through painting by moving it into the hinge cup hole or onto the back edge. Mixed up doors rarely hang true.
Degreasing, scuff sanding and priming
Cooking grease is the main reason painted cabinets peel. Scrub every surface with a degreasing cleaner, paying attention to the areas around the handles and above the stove, then rinse with clean water and let everything dry.
Next, scuff sand to knock down the gloss so the primer can grip. You are not trying to remove the old finish, only to dull it evenly. Vacuum the dust and wipe with a tack cloth or a barely damp microfiber cloth.
Prime with a bonding primer made for glossy or hard surfaces, which the label will state. On oak, open grain will show through paint, so some people apply grain filler first if they want a smooth look. Sand lightly between primer and paint with fine grit paper and clean off the dust again.
Choosing a paint and sheen for cabinet doors
Cabinets get grabbed, wiped and splashed, so wall paint is a poor match. Look for products labeled for cabinets, doors and trim, such as waterborne alkyd or urethane modified acrylic enamels, which level out smoothly and dry hard.
| Sheen | Look | Wipes clean | Shows flaws |
|---|---|---|---|
| Satin | Soft glow, modern | Well | Least of the three |
| Semi gloss | Noticeable shine | Very well | Brush marks and dents show more |
| High gloss | Lacquer like, reflective | Best | Every flaw in the prep shows |
Oil based enamels are tough but slow to dry, carry a strong odor and can yellow over time, especially in lighter colors. Whatever you choose, read the can for recoat time and cleanup.
Thin coats and a full cure before rehanging
Two thin coats beat one heavy one. Thick paint sags on vertical surfaces and stays soft underneath. Paint the back of each door first, let it dry, then flip it and paint the front, so the side people see gets the final, cleanest pass.
Dry to the touch is not the same as cured. The can lists both a recoat time and a longer cure period, and until the paint cures it can stick to bumpers and scuff easily. Rehang carefully, add clear bumper pads, and go easy on scrubbing for the first weeks.
Frequently asked questions
Do you have to sand kitchen cabinets before painting?
A light scuff sand is usually needed so primer can grip a glossy finish. Liquid deglossers can replace some sanding, but read their instructions carefully and still degrease first. If your home predates 1978, test for lead before any sanding, and use a certified contractor if the test comes back positive.
Should you brush, roll or spray cabinet paint?
A sprayer gives the smoothest finish but needs masking, ventilation and practice. A small foam or microfiber roller on flat panels plus a quality brush for edges and profiles gets close with less setup. Self leveling cabinet enamels help hide brush marks whichever tool you use.
How long does painting kitchen cabinets take?
It depends on the number of doors, dry times and whether you spray. Many homeowners spread it over several days to a week or more, because each coat of primer and paint must dry before the next. Check the recoat and cure times on your products to plan the schedule.
How do you paint laminate cabinets?
Degrease them thoroughly, then scuff or degloss the slick surface so primer can grip. Benjamin Moore's data sheet for its bonding primer says laminates such as Formica should be deglossed and that damaged or delaminated areas need repair or replacement first. Apply a bonding primer made for glossy surfaces, then two thin coats of cabinet enamel.
How do you paint bathroom cabinets?
Use the same process as kitchen cabinets, degreasing, scuff sanding, priming and brushing on thin coats of cabinet enamel. The difference is moisture. Paint makers note that high humidity lengthens drying and recoat times, so run the exhaust fan, keep steamy showers out of the room while you work, and let the finish cure before heavy use.