
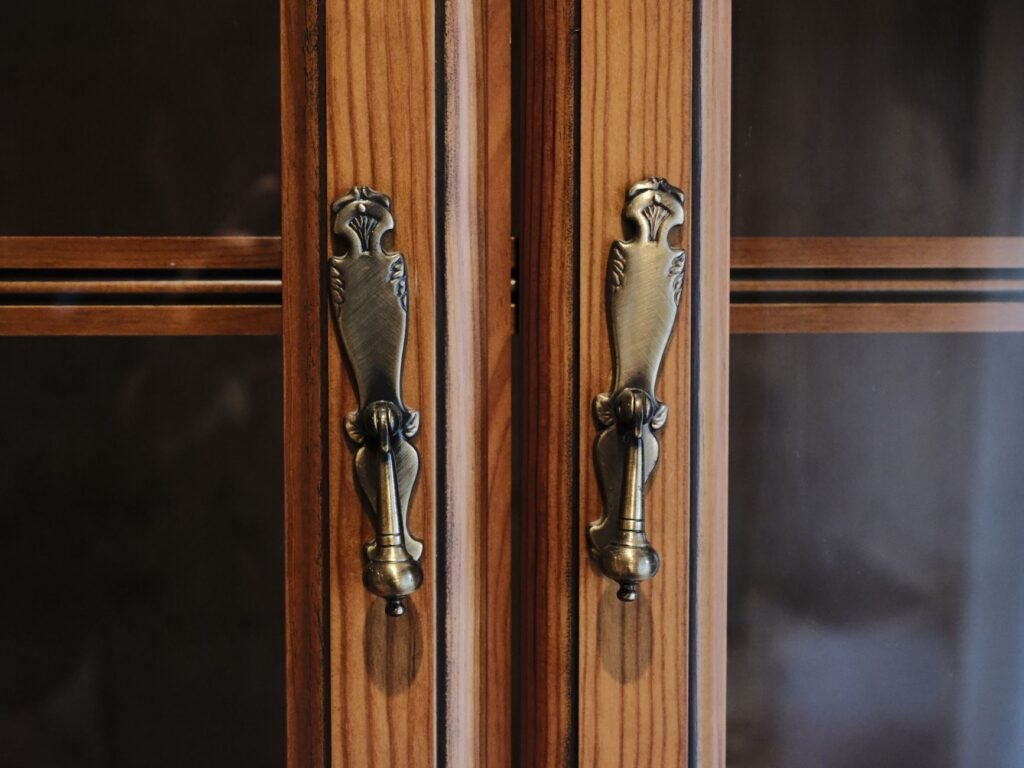
Mark where the handle goes, confirm the center to center distance between its screw holes, drill through the door or drawer front from the outside, then fasten the handle from the inside with screws. A drilling template keeps every hole in the same spot, so a whole kitchen of pulls lines up.
Center to center decides which handle fits
Handles are sold by two measurements, and confusing the two leaves you holding new pulls whose screws miss the old holes. Overall length is the full span of the handle. Center to center is the distance between the middles of its two screw holes. The Liberty Hardware help center notes that center to center is the figure to match when you swap out existing cabinet hardware.
If you are replacing handles, remove one old pull and measure from the center of one hole to the center of the other. Product listings give this number in inches or millimeters, often both, so double check which one you are reading. Buying one sample handle before ordering thirty is a cheap way to confirm the fit and the look.
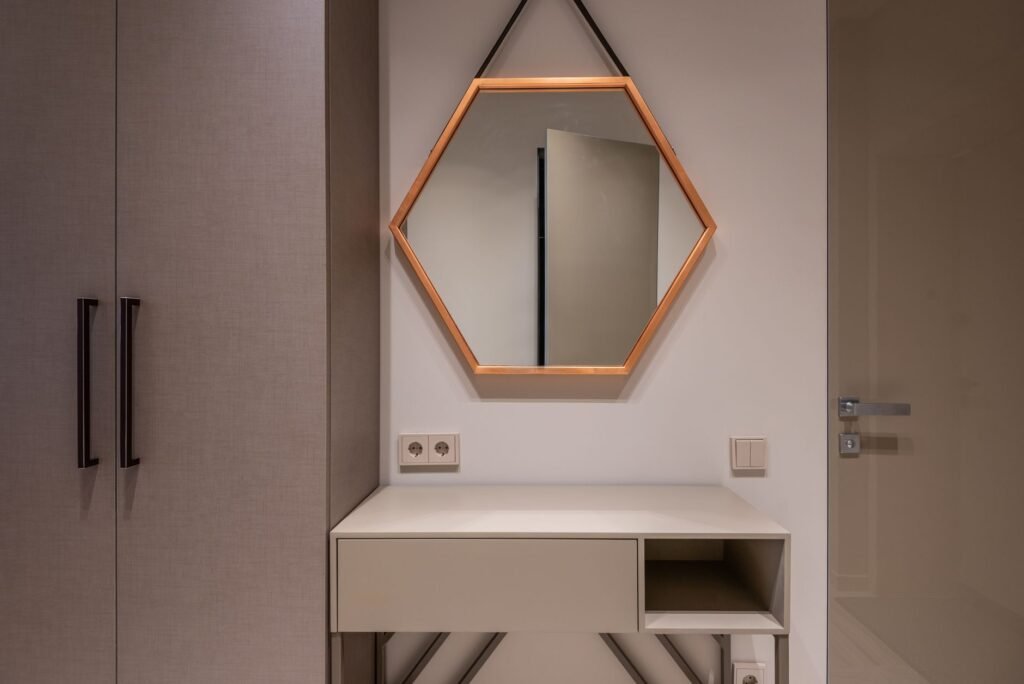
Where pulls usually go on doors and drawers
There is no rule enforced by anyone, but most kitchens follow a few conventions that make the hardware feel natural to reach. On doors, the handle goes on the side opposite the hinges. Upper cabinet handles sit near the bottom corner of the door, and lower cabinet handles sit near the top corner, so your hand finds them without bending or stretching.
Drawer pulls are usually centered side to side. On a tall drawer, some people move the pull up toward the top edge so it is easier to grab. Wide drawers sometimes get two pulls or one long one. Whatever you decide, apply it the same way across the room, because a single handle out of line catches the eye every time you walk in.
Drilling holes for cabinet handles without splintering
- Set a paper or adjustable plastic template against the edge of the door or drawer and tape it in place.
- Mark each hole with an awl or a sharp pencil, then check the marks with a level or a tape measure.
- Pick a drill bit that lets the screw pass through freely. The hardware package or maker’s instructions often give the size.
- Clamp a scrap block of wood against the inside face, directly behind the mark.
- Hold the drill square to the surface and drill from the front, so any tear out lands on the scrap block rather than your visible finish.
- Push the screws through from inside and tighten them snugly by hand, without cranking so hard that the wood crushes.
Painters tape over the mark gives the bit something to grip and helps keep a glossy or painted finish from chipping.
Screws that are too long, too short or loose
Handle screws come in fixed lengths, and cabinet fronts vary in thickness. Liberty Hardware suggests using screws at least a quarter inch longer than the thickness of your drawer or door front.
| Problem | Likely cause | Fix |
|---|---|---|
| Screw won’t reach the handle threads | Thick or double layered drawer front | Buy longer screws of the same thread from a hardware store |
| Handle won’t pull tight to the surface | Screw too long, bottoming out | Add number 8 flat washers under the screw head |
| Handle wiggles after a few weeks | Screws backed out | Retighten, snug but not forced |
| New handle doesn’t match old holes | Different center to center | Use a backplate, or fill the old holes and redrill |
Knobs and single hole hardware
Knobs are the simpler job because there is only one hole and no spacing to get wrong. Measure the location with the same template, drill once, and tighten the screw from behind. Knobs can spin loose over time, so check them after the first few weeks of use.
If you are painting cabinets before new hardware goes on, finish the paint and let it cure fully first. Drilling fresh paint tends to chip, and handles pressed onto soft paint can leave marks around their base.
Frequently asked questions
What size drill bit do I use for cabinet handles?
Use a bit that lets the handle screw slide through the hole freely without the threads biting into the wood. Many hardware packages list a recommended size in the instructions. If not, hold bits against the screw and choose the one that matches the screw's outer diameter, then test on a scrap piece first.
Can I install cabinet handles without a template?
You can, but it takes more careful measuring for every door and drawer. Mark one piece, check it twice, and transfer the exact measurements to the rest. A template, even one cut from cardboard, saves time on a full kitchen and keeps the handles consistent from one cabinet to the next.
How do I cover old holes when new pulls are a different size?
A decorative backplate that sits behind the new handle can hide old holes. You can also fill the holes with wood filler, sand it smooth and touch up the finish or paint before drilling new ones. Filler shows through stained wood more than paint, so a backplate is often cleaner there.
How do you install cabinet handles on Shaker doors?
Mount them on the stile, the flat vertical frame piece on the side opposite the hinges, rather than on the recessed center panel. Liberty Hardware recommends placing door hardware 2 to 4 inches from the edge, near the bottom on upper cabinets and near the top on base cabinets, with pulls running vertically. Then drill and fasten as usual.
How do you choose the right size cabinet hardware?
For drawers, Liberty Hardware suggests the rule of thirds, a pull about one third the width of the drawer, and two centered pulls once a drawer is wider than 30 inches. Doors usually take knobs or shorter pulls. If you are replacing hardware, match the old center to center spacing first so the new screws line up.