
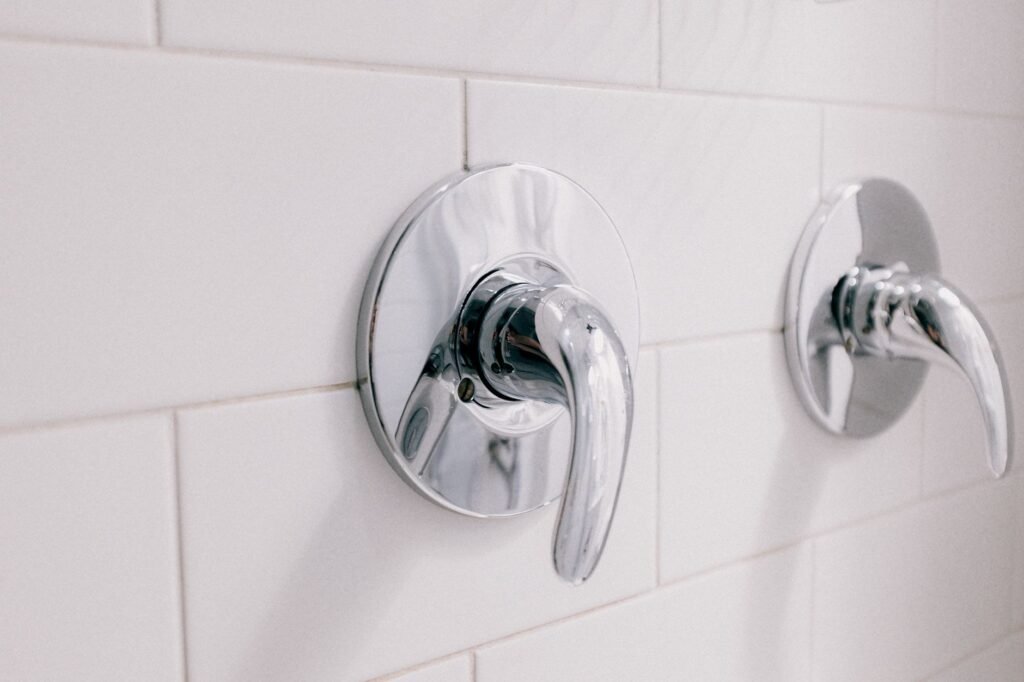
To replace a shower cartridge, shut off the water, remove the handle and trim, pull the retaining clip or nut, slide out the old cartridge and install an exact match. Identify the valve’s brand before buying anything, because cartridges differ by manufacturer and even by model within one brand.
Signs the cartridge is the part that failed
The cartridge is the moving part inside the valve that controls water flow and, in most single handle showers, the mix of hot and cold. When its seals wear or mineral deposits build up, the symptoms are usually easy to spot.
A showerhead or tub spout that keeps dripping after you shut the handle off is the classic sign. So is a handle that grinds, sticks or turns much harder than it used to. Water that swings between hot and cold, or never gets fully hot, can also point to the cartridge, though a worn anti scald device inside the valve can cause similar problems. If the leak is coming from behind the wall or around the trim plate rather than out of the spout, the cause may be something else, and a plumber should look.
Shutting off the water before touching the valve
Pulling a cartridge with the water on sends a blast of pressurized water into the bathroom. Find a shutoff first. Some shower valves have built in stops, small screwdriver slots inside the valve body that appear once the trim comes off. Others have shutoff valves behind an access panel on the wall’s opposite face. If you find neither, close the main water shutoff for the house.
Then open the shower handle to drain the water left in the lines and confirm that the flow has stopped completely. Close the tub drain or lay a rag in it so small screws and clips can’t disappear.
Identifying the brand before buying a cartridge
Cartridges are not interchangeable across brands, and one manufacturer can make several that look alike. Start with the logo on the handle or the round trim plate, often called the escutcheon. If there’s none, look for original paperwork from when the bathroom was built or remodeled.
The surest route is to take the old cartridge with you to a plumbing supply store, or compare it against the manufacturer’s online replacement parts guide. Many brands also have customer service lines that can help identify a part. Note the cartridge’s length, the shape of the stem end and how many splines it has, and photograph it next to a tape measure.
Pulling the old cartridge and seating the new one
- Pry off the decorative cap on the handle, remove the screw beneath it and slide the handle off.
- Unscrew the trim plate and set the screws somewhere safe.
- Photograph the cartridge in place, noting any marking that shows which side faces hot, and any stop or sleeve on the stem.
- Remove the retaining clip, nut or bonnet that holds the cartridge in the valve body.
- Pull the cartridge out by its stem with pliers. A stuck one may need a cartridge puller made for that brand.
- Wipe out the valve body with a soft cloth and remove any loose mineral grit without scratching the inside.
- Coat the new cartridge’s O rings lightly with the lubricant recommended in its instructions, often silicone grease.
- Push it in with the same orientation as the old one, then reinstall the clip or nut.
Testing for leaks and setting the hot limit
Before putting the trim back, turn the water on slowly and check for drips around the valve body. Put the handle on loosely and run the shower from off to full hot. If hot and cold come out reversed, the cartridge is rotated the wrong way; shut off the water and turn it as the maker’s instructions describe.
Many single handle valves include a rotational limit stop that caps how far the handle can turn toward hot, which helps prevent scalding. A new cartridge may need that stop reset. Follow the manufacturer’s steps for adjusting it, and check the water temperature at the showerhead afterward, especially in homes with small children or older adults.
Once it runs clean, reinstall the trim and handle. If mineral buildup caused the failure, the showerhead probably needs a cleaning too, a separate job for the same afternoon.
Frequently asked questions
How do I know which shower cartridge to buy?
Identify the faucet brand from the handle, trim plate or house paperwork, then match the old cartridge exactly using the manufacturer's replacement parts guide or customer service line. Taking the old cartridge to a plumbing supply store is the most reliable way to avoid buying one that looks right but doesn't fit.
Do I need to turn off the main water to replace a shower cartridge?
Only if the valve has no built in stops and there are no shutoff valves behind an access panel. Many older homes lack both, so closing the main shutoff is common. Either way, open the shower handle afterward to drain the lines and confirm the flow has stopped.
Why is my shower still dripping after replacing the cartridge?
The new cartridge may not be fully seated, the retaining clip may be missing, or the O rings may have been nicked going in. Mineral grit left in the valve body can also stop a seal forming. Shut off the water, pull the cartridge, inspect it and reinstall carefully.