
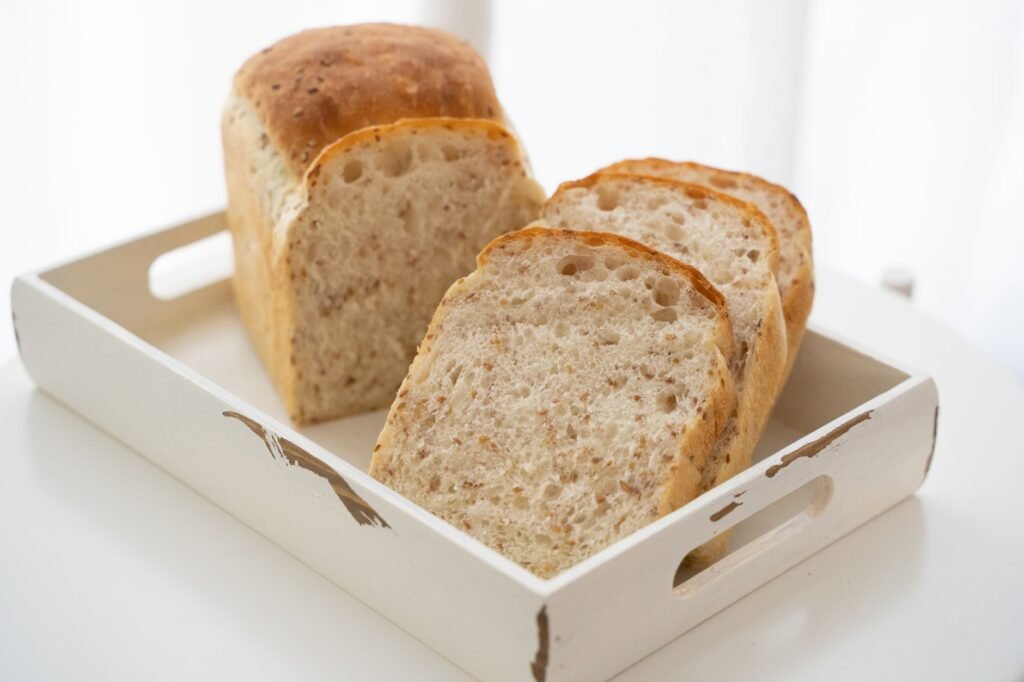
Let the loaf cool completely, then keep it cut side down in a paper bag or a bread box at room temperature for two to three days. Anything you cannot finish in that window should be sliced and frozen in a sealed bag. The refrigerator is the one spot a homemade loaf should never sit.
Why the Fridge Is the Worst Shelf in the House
Bread goes stale through a process called starch retrogradation. The starch that softened and swelled during baking slowly recrystallizes, squeezing water out of the crumb and leaving it firm and crumbly. That reaction runs fastest at temperatures just above freezing, which happens to be exactly where a home refrigerator lives. A loaf parked on that shelf can taste a day older after a single night.
Freezer temperatures are cold enough to nearly halt the reaction. Room temperature is warm enough that it creeps along slowly. The fridge sits in the worst possible middle, cold enough to hurt and not cold enough to help.
What Each Storage Spot Actually Does to the Crumb
| Where it sits | What happens | Rough window | Best for |
|---|---|---|---|
| Counter, paper bag | Crust stays crisp, crumb dries gradually | A couple of days | Crusty sourdough and baguettes |
| Counter, sealed plastic or beeswax wrap | Crumb stays soft, crust turns leathery | Two to four days | Soft sandwich loaves and enriched breads |
| Bread box | Balances trapped humidity with a little airflow | Two to three days | A loaf you slice from daily |
| Refrigerator | Staling accelerates | Avoid | Nothing |
| Freezer, sliced and sealed | Staling nearly stops | Several weeks to a few months | Half a loaf you cannot get through |
Match the Wrap to the Crust You Worked For
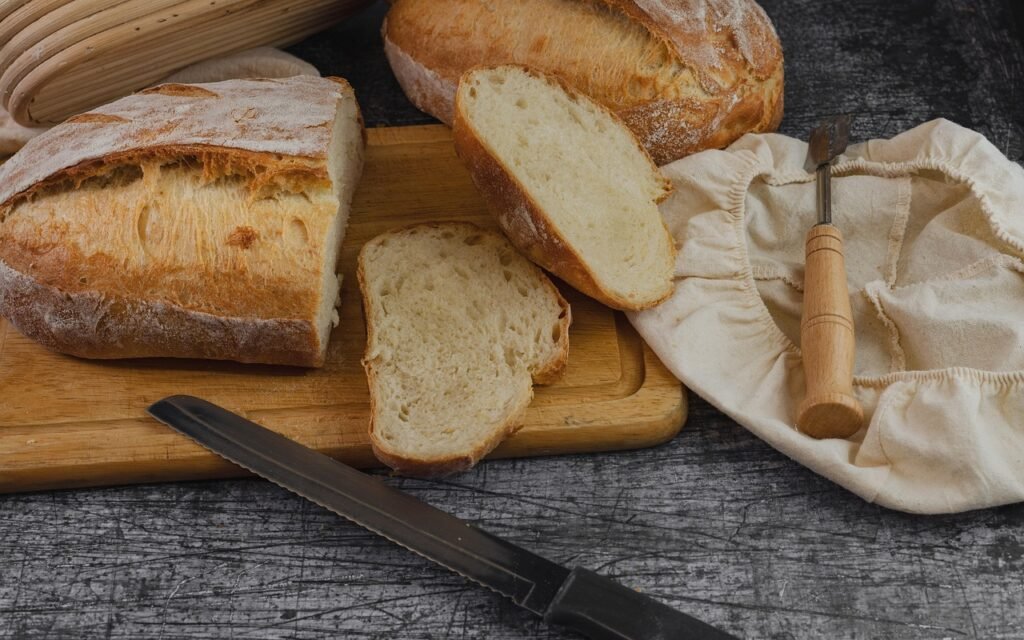
A crackly crust is mostly dryness at the surface. Seal that loaf in plastic and the moisture from the interior migrates outward with nowhere to go, and by morning the crust bends instead of shattering. Paper, linen, or a bread box lets a little of that moisture leave. Soft loaves have the opposite problem, since they have no crust to protect and everything to lose, so plastic suits them better.
Whatever you use, place the loaf cut side flat against a board or the counter. The cut face is the open wound where moisture escapes, and pressing it down seals it about as well as any wrapper.
Mistakes That Turn a Good Loaf Into a Brick
Bagging bread while it is still warm is the most common one. Steam is still leaving the crumb, and inside a bag that steam condenses into water on the crust, which gives you a gummy surface and a head start for mold. Wait until the loaf is cool all the way through, which takes longer than most people think for a big round.
Slicing the whole loaf up front is the second. Every cut creates a new surface that dries out, so cut only what you are about to eat. Freezing a loaf whole is the third, because you then have to thaw the entire thing to get two slices, and refreezing wastes texture. Slice first, freeze flat, and pull out what you need. Storing bread above the stove or on a sunny windowsill adds heat that speeds everything up.
Telling Stale From Spoiled
Stale bread is dry, firm, and a little crumbly, but it smells like bread. That loaf is fine, and it makes excellent toast, croutons, bread pudding, or breadcrumbs. Spoiled bread is a different signal entirely. Look for fuzzy spots in white, green, blue, or black, any sticky or damp patch, and a musty or sharply sour smell that was not there before.
Mold in a soft, moist loaf spreads threads well past the spot you can see, so cutting around a fuzzy patch is not a reliable fix. Discard the loaf and wash whatever it was wrapped in.