

Cover graphic by KnackDaily.
Shut off the power, scrub the underside of the rubber splash guard with dish soap and a stiff brush, then run a tray of ice cubes with a handful of coarse salt. That order matters. The odor lives on the rubber flap and the chamber walls, not down in the drain pipe.
Cut the power before anything goes in the chamber
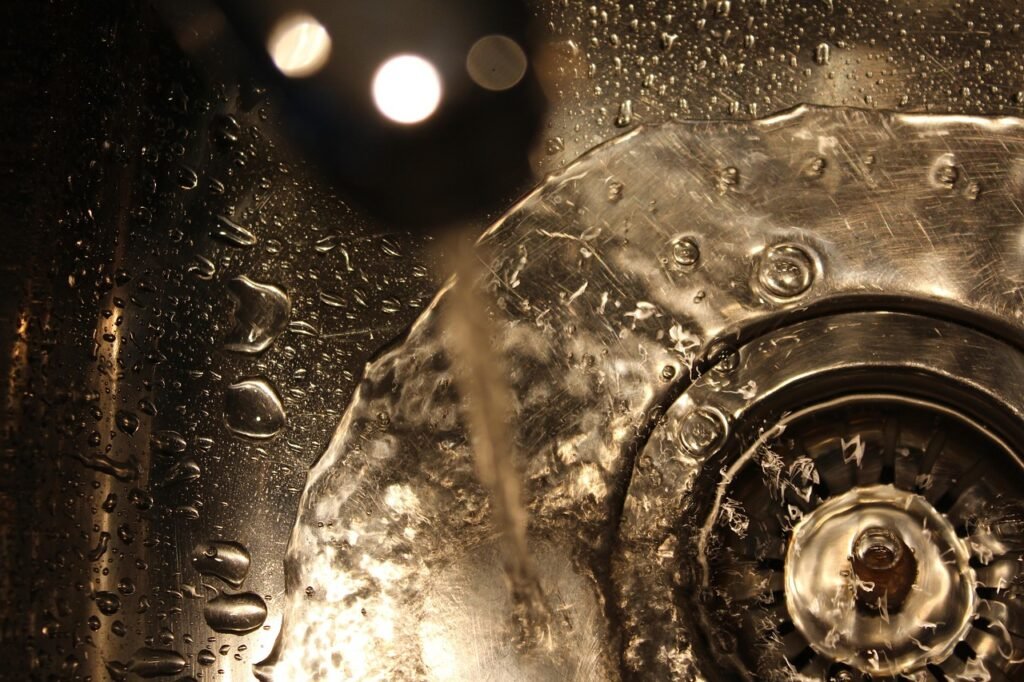
Switch the unit off at the wall switch, and for anything that involves reaching into the opening, flip the breaker or unplug the cord under the sink. A disposal that starts while your fingers are inside causes serious injury, and a wall switch can be bumped by anyone walking past.
Never put your hand down there while the unit has power. If something metal fell in, cut the power and fish it out with tongs or pliers, then restore power afterward. Keep a flashlight handy so you can see what you are grabbing rather than feeling around blind.
One piece of trivia that changes how people treat these units: there are no blades inside. A disposal spins a plate with two blunt swiveling impellers that fling food against a stationary grinding ring. Nothing in there is sharpened, which is why it struggles with stringy material and why sharp objects never help.
The odor is a film on the splash guard
Grease and protein from plates do not simply flush away. They stick to the underside of the rubber baffle and the sides of the grind chamber, both of which live above the water line and almost never get rinsed. Bacteria feed on that film, and the sour smell that drifts up is their byproduct.
Lift each rubber flap and look at the back of it. That gray coating is the source. Scrub both sides with an old toothbrush or a small bottle brush and warm soapy water until the rubber feels squeaky rather than slick. On many models the splash guard pulls out entirely, which makes the job much easier and lets you wash it in the sink.
Ice and salt do the scouring
- Restore power once your hands are clear and the brush is out of the sink.
- Drop in a full tray of ice cubes and pour a generous handful of coarse salt over them.
- Run cold water at a steady stream and switch the unit on. Cold keeps fat firm so it chips off instead of smearing.
- Let it grind until the noise settles back to an empty hum, which usually takes under a minute.
- Finish with citrus peel if you like the scent, then flush with cold water for another twenty seconds or so.
What belongs in there and what does not
| Item | Verdict | Reason |
|---|---|---|
| Ice and coarse salt | Good | Abrasive enough to knock film off the chamber walls |
| Dish soap and a brush | Good | The only thing that reaches the splash guard |
| Bacon fat and cooking oil | Avoid | Cools and hardens in the trap downstream |
| Celery, corn husks, artichoke leaves | Avoid | Fiber wraps the impellers instead of breaking up |
| Bleach or caustic drain openers | Avoid | Attacks rubber and seals and can react with other cleaners |
| Coffee grounds and eggshells | Use sparingly | They compact into a sludge that packs the trap |
Never mix what is already in the drain
Chemical safety deserves a line of its own here. Chlorine bleach mixed with an acidic drain product releases chlorine gas, and bleach mixed with an ammonia based cleaner releases chloramine. A sink trap is exactly the kind of place where somebody pours one thing today and another thing tomorrow without thinking about it. Stick to soap, ice, salt and hot water and that entire category of risk disappears.
Baking soda followed by vinegar is harmless, and the fizzing looks impressive, but the reaction neutralizes itself within seconds and does almost nothing to a stuck film. Treat it as a deodorizer, not as the cleaning step.