
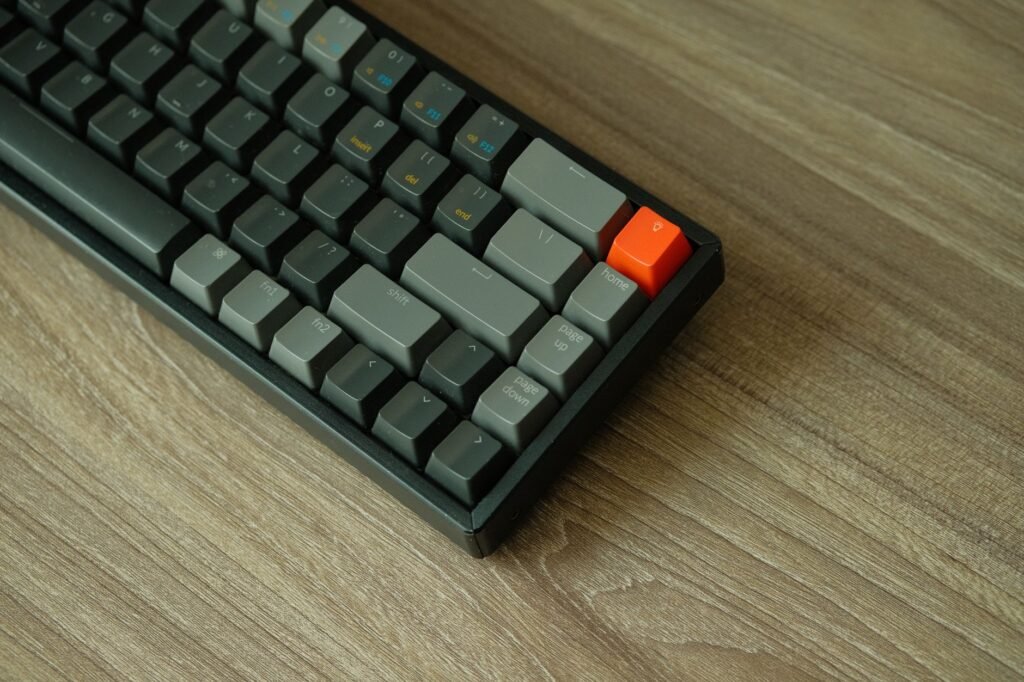
Unplug the keyboard, turn it upside down and shake the loose debris out, brush between the keys with a dry soft brush, then wipe the surfaces with a cloth dampened, not soaked, with isopropyl alcohol. Nothing should ever be wet enough to drip into the board below.
Liquid is what kills keyboards, not crumbs
Under every key sits either a printed membrane sheet or a soldered circuit board, and both are unhappy about conductive liquid arriving between traces. Crumbs cause a sticky key. Liquid causes a short, and with a powered board it causes corrosion that continues for days after everything looks dry. That is the whole reason the routine below is mostly dry work.
Keycaps have their own material rule. Most caps are ABS or PBT plastic. Where the letters are molded into the cap as a second piece of plastic, or dyed into it, alcohol will not touch them. Where the letters are printed on the surface, which is the norm on laptops and on cheaper boards, alcohol acts as a mild solvent on the ink and the legends fade in the exact places your fingers already wear them. A quick test on a key you never look at, like the right side Windows or option key, tells you which kind you own.
A safe clean for any keyboard, step by step
- Power down and unplug. On a laptop, shut it down fully rather than closing the lid.
- Hold the board at an angle over a bin and tap the back firmly. Most of what lives in there falls out.
- Brush between the key rows with a soft dry brush, working in one direction so debris travels toward an edge.
- Use short bursts of compressed air at a shallow angle while the board stays tilted face down, so dust exits instead of relocating.
- Dampen a lint free cloth with isopropyl alcohol, wring it out until it feels barely cool, and wipe the keycap tops and the surrounding case.
- Use a cotton swab, also barely damp, for the sides of the keys and the gaps your cloth cannot reach.
- Let it sit five minutes before plugging it back in, even though alcohol looks dry immediately.
Safe versus risky on keycaps and cases
| Method | Verdict |
|---|---|
| Dry brush and tilting | Safe on everything, and it does most of the actual work. |
| Isopropyl on a damp cloth | Safe on molded or dyed legends. Fades printed legends. |
| Washing removed keycaps in soapy water | Safe for standard caps, as long as they are bone dry before they go back. |
| Pouring or spraying liquid onto the board | The fastest way to end a keyboard. |
| Household disinfectant wipes | Often too wet, and some contain bleach that clouds the plastic. |
| Vacuum nozzle straight onto the keys | Can pull off loose caps and stabiliser parts. Use a brush attachment. |
| Running a laptop keyboard under a tap | Sends liquid straight to the mainboard underneath. |
Membrane, mechanical and laptop boards are not the same job
On a mechanical keyboard the caps pull straight up with a wire puller, which turns the whole thing into an easy job and lets you wash the caps in the sink. On a membrane board the caps are often clipped to fragile retainers, so pulling them is how people end up with one key that never sits right again. Laptops are the strictest case, since there is no gap between the key assembly and the rest of the computer, and the scissor clips under each key break easily. Laptops get surface cleaning only.
The first minute after a spill decides the outcome
Cut power first and think second. For a desktop board, unplug it. For a laptop, hold the power button until it goes off, since a controlled shutdown takes long enough for liquid to reach something. Turn the machine upside down so gravity works with you rather than against you, blot what you can reach, and then leave it inverted in a warm airy spot for at least a day or two. Sugary drinks leave a residue that keeps causing sticky keys after everything dries, and that is usually a repair shop job rather than a kitchen towel job.