

Cover graphic by KnackDaily.
Pull the laces, knock off dry dirt, then clean each material separately with a soft brush and barely soapy lukewarm water, working in small sections and never soaking the shoe. Air dry away from heat. Almost every ruined pair was ruined by hot water, a dryer or a radiator rather than by dirt.
A sneaker is four materials glued together
Treating a shoe as one object is the mistake. A typical pair has a knit or canvas upper, sometimes with leather or suede panels, a foam midsole, a rubber outsole, and cement adhesive holding the sole to the upper along the whole perimeter. Those materials tolerate completely different things.
The adhesive is the weak link. Shoe cement is thermoplastic, so it softens when it gets hot and re bonds imperfectly as it cools, which is exactly what a tumble dryer or a radiator does to it. That is why soles start lifting at the toe after a hot wash rather than after a muddy walk. Foam midsoles absorb water and stay damp inside long after the surface feels dry, and suede loses its nap permanently once it is soaked. The safe approach is to clean at the pace of the fussiest material in the shoe.
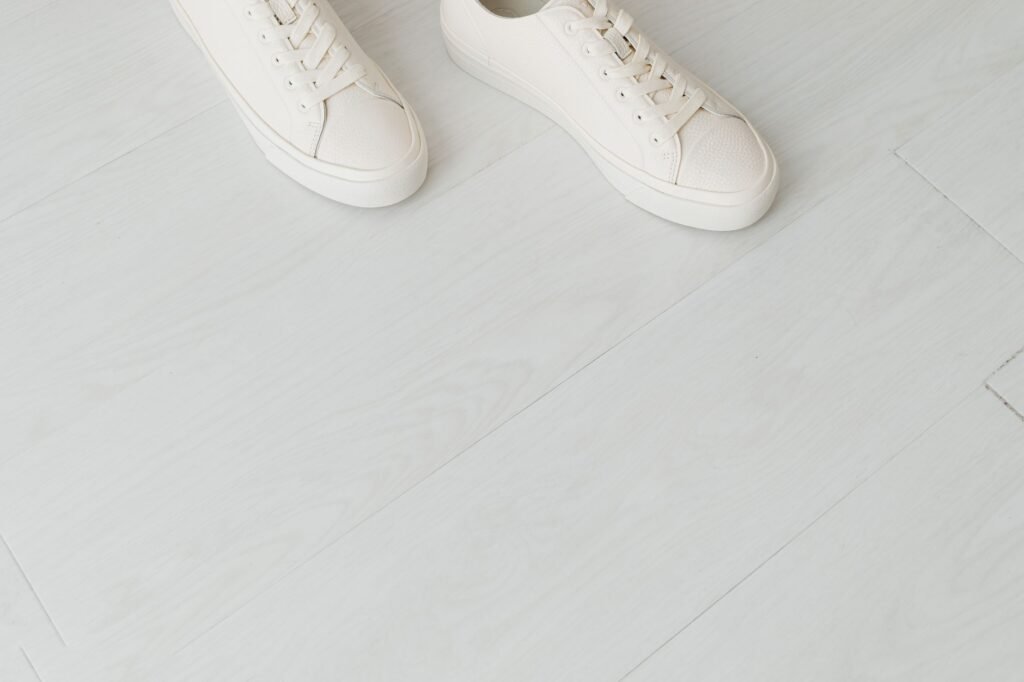
The hand wash that suits almost any pair
- Remove the laces and insoles and wash them separately in the same soapy water.
- Let caked mud dry completely, then knock it off. Wet mud gets pushed into the weave.
- Mix a few drops of dish soap into lukewarm water. You want it barely cloudy, not foamy.
- Dip a soft brush, shake off the excess, and work the upper in small circles. Keep the brush damp rather than dripping.
- Do the midsole next with a slightly firmer brush, and the outsole last, since it is the dirtiest part.
- Wipe everything with a cloth wrung out in clean water to lift the soap residue, which attracts dirt if it dries in place.
- Stuff the shoes with paper towel, reshape the toe box, and let them dry at room temperature for a full day.
What to use on each part, and what wrecks it
| Part | Use | Avoid |
|---|---|---|
| Knit or canvas upper | Soft brush, mild soapy water, light pressure | Hot water, which shrinks and distorts the weave |
| Leather panels | Damp cloth, then a leather conditioner once dry | Soaking, which draws out the oils and leaves it stiff |
| Suede or nubuck | Suede brush and eraser, used dry | Water of any kind, which mats the nap and rings the panel |
| Foam midsole | Firmer brush and the same soapy water | Chlorine bleach, which speeds up the yellowing it is meant to fix |
| Rubber outsole | Stiff brush, a toothpick for the tread grooves | Solvents, which soften the rubber surface |
| The glued seam | Wipe, do not soak | Dryers, radiators and direct sun, all of which soften the cement |
Why bleach makes white shoes worse
White midsoles are usually foam and rubber compounds that yellow as they oxidise with age and light. Chlorine bleach is an oxidiser, so it pushes that same reaction forward instead of reversing it. Shoes often look brighter for a day and distinctly more yellow a week later. If you use any chlorine product anywhere near shoes, never mix it with vinegar or any acidic cleaner, because that combination releases chlorine gas.
Drying is where most pairs actually get ruined
Room temperature, good airflow, no direct sun and no heat source. Paper towel inside pulls moisture out of the lining and holds the shape while the upper dries. A fan pointed at them speeds things up safely. Give a soaked pair a full day and change the paper once partway through, because a midsole that still holds water inside is how the lining starts to smell.