
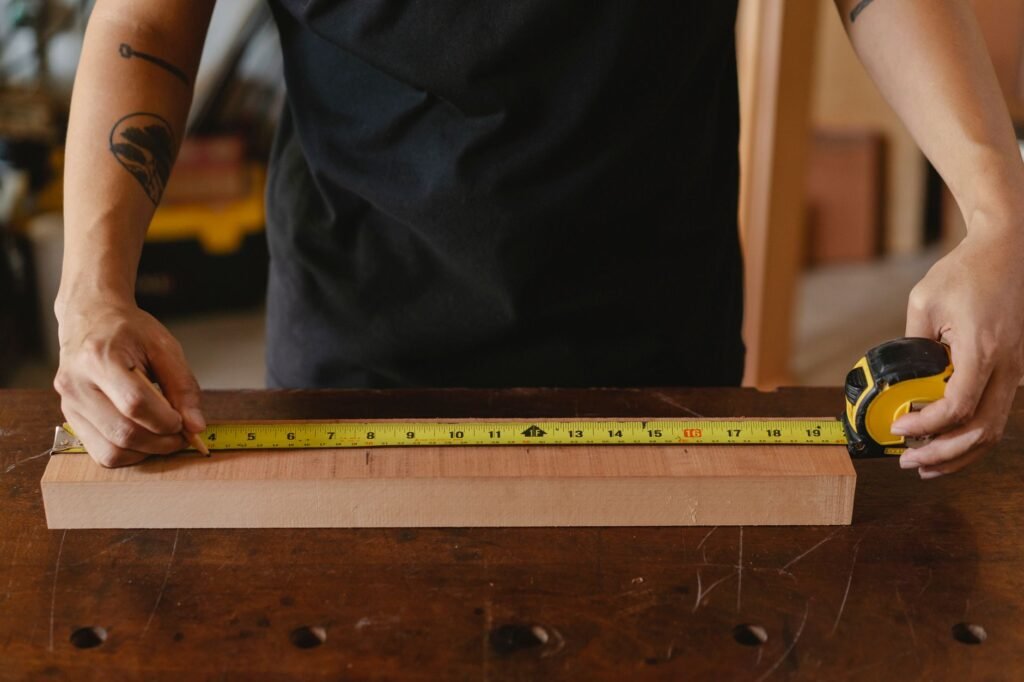
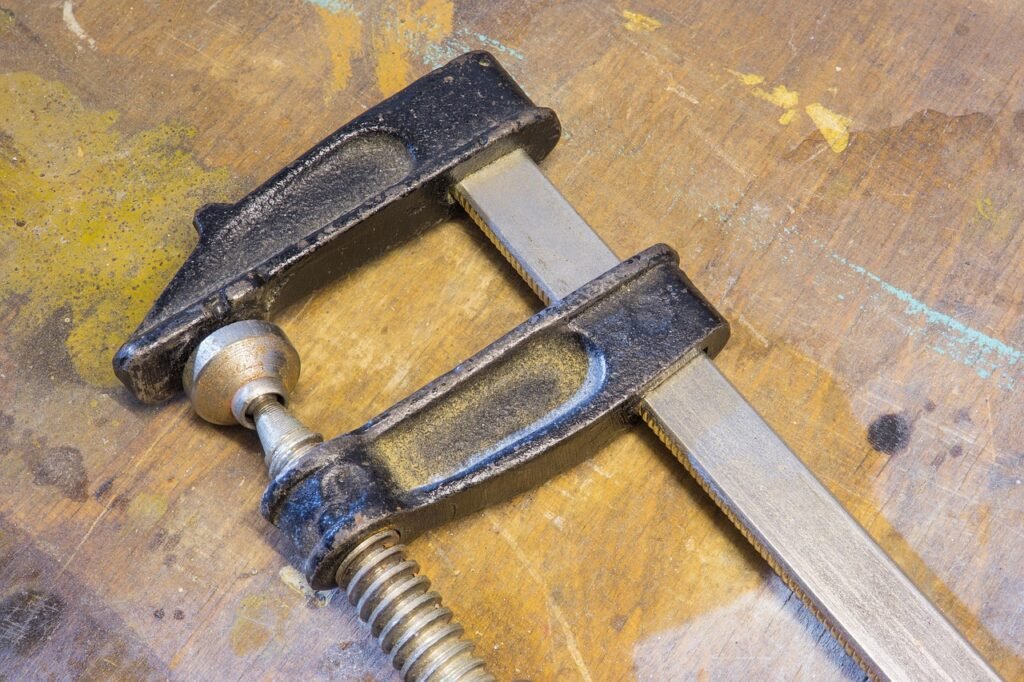
To build a bookshelf, cut two sides, a top, a bottom and shelves from plywood or boards, join them with glue and screws, add a back panel to keep the case square, and anchor it to the wall. A saw, a drill, clamps and a square cover the essential tools.
Sizing a bookshelf around the books you actually own
Pull out your tallest and deepest books before you draw anything. Shelf spacing should clear the tallest book on each shelf with room for your fingers to tip it out, and the depth should cover your widest books without leaving a deep ledge that collects clutter. Paperbacks and oversized art books rarely share a shelf comfortably, so many builders give the bottom shelf extra height for the big volumes.
Height and width come next. A taller case holds more but is more likely to tip, which makes wall anchoring part of the plan from the start. Width affects sag, because a long shelf loaded with hardcovers bends more than a short one. Two narrow cases side by side are often easier to build, move and level than one wide unit.
Bookshelf materials and what each is good for
| Material | Strengths | Drawbacks |
|---|---|---|
| Plywood sheet | Wide, flat, stable panels; parts match | Raw edges need edge banding or trim |
| Solid pine boards | Easy to cut and sand; takes stain | Can cup or twist; nominal size is larger than actual |
| Hardwood boards such as oak or maple | Stiff, handsome grain | Harder to cut; needs pilot holes for screws |
| MDF | Very smooth surface for paint | Heavy; swells if it gets wet |
Lumber is sold by nominal size, and the actual board is smaller than its label, so measure the boards you bring home before cutting anything to fit. Sight down each board at the store and leave behind any that twist or bow.
Assembling the bookshelf case and fixed shelves
- Clamp the two sides together and cut or trim them as a pair so they come out exactly the same length.
- Mark every shelf position across both sides at once with a square, so the shelves come out level.
- Drill pilot holes, spread wood glue on the joints, and screw through the sides into the top, bottom and fixed shelves. Pocket screws hide the fasteners if the sides will show.
- Measure the case corner to corner both ways. Equal diagonals mean the box is square, so nudge it until they match.
- While it is square, glue and fasten a thin back panel on all four edges to lock that shape in.
- For adjustable shelves, drill rows of shelf pin holes with a drilling jig before assembly.
- Fill the screw holes, sand, and apply paint or finish.
Keeping bookshelf shelves from sagging
Books are heavy, and a shelf that looks flat on day one can dip after a few months under a full load. The easy fixes are shorter spans, thicker shelf material, and a strip of hardwood glued along the front edge on its narrow side, which stiffens the shelf a lot for very little effort. Screwing each shelf to the back panel along its rear edge helps too.
If you want wide shelves, add a vertical divider in the middle rather than trusting one long board. Free online shelf sag calculators let you plug in the material, depth, span and load before you cut, so you can check a design instead of guessing.
Anchoring a tall bookshelf to a wall stud
The federal Anchor It campaign recommends anchoring all furniture with drawers, doors and shelves to the wall to prevent tip-over injuries and deaths. For a homemade bookcase that means an anti-tip kit, a drill, a screwdriver and a stud finder.
Attach one bracket to the wall at a stud, move the bookshelf close to the wall, attach the other bracket to the back or top of the case, connect the strap and tighten it. Tug on the case afterward to make sure it holds. Keep the heaviest books on the lowest shelves, and never let children climb the shelves to reach something.
Frequently asked questions
What wood is best for a first bookshelf?
Plywood is the forgiving choice because it comes in wide, flat sheets and does not cup the way solid boards can. Pine boards are easy to cut and sand if you prefer the look of solid wood. Sight down each board at the store and skip any that are twisted before you buy.
Do you need a back panel on a bookshelf?
A back panel does more than hide the wall. Fastened on all four edges, it keeps the case from racking side to side, the wobble that loosens joints over time. A thin panel is enough, and it also gives you a solid surface for mounting an anti-tip strap.
Can you build a bookshelf without power tools?
Yes, though it takes longer. A handsaw, a miter box for square cuts, a hand drill, a screwdriver and a few clamps will do the job. Many home centers will cut plywood sheets to size, which removes the hardest cuts, so ask at the lumber desk about their policy.
How do you style a bookshelf like a designer?
Start with the books, mixing upright rows with a few horizontal stacks that double as bookends. Leave some open space on every shelf, add a few objects such as plants, frames or bowls, and repeat colors or materials across the shelves so the case looks planned. Keep the heaviest books on the lowest shelves.
How do you build a built-in bookcase?
Build or buy cases like the one in this guide, then fit them in place so they look permanent. This Old House's guides call for removing the baseboard, shimming the cases level, anchoring them to wall studs and the floor, and covering gaps with trim, crown molding and caulk. Plan around outlets and vents before you start.