
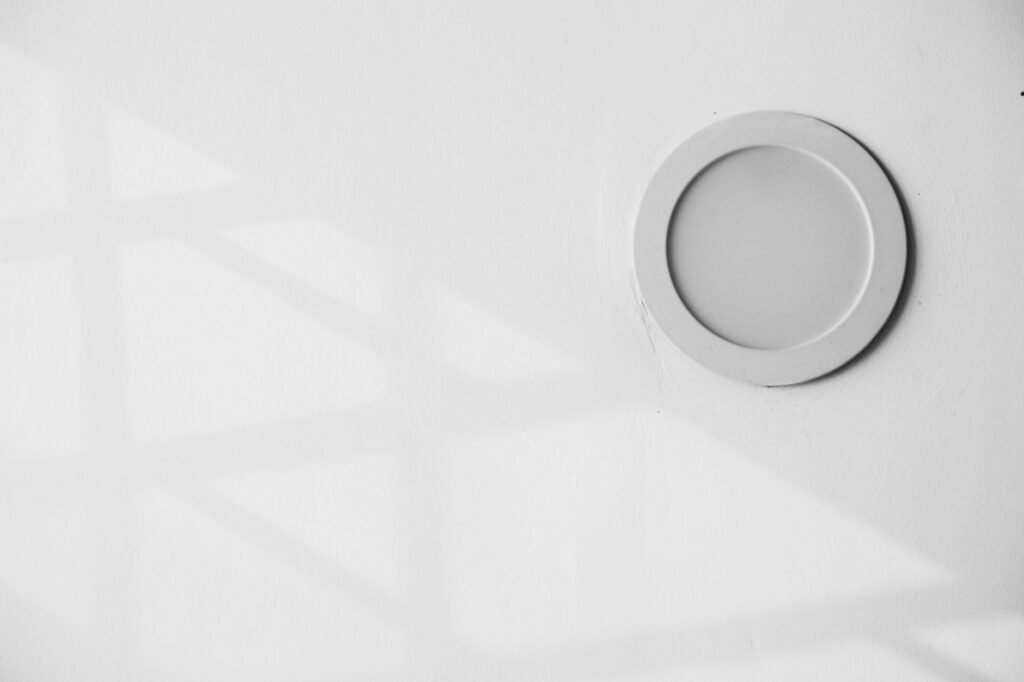
To install recessed lighting in an existing ceiling, you use remodel housings that clip to the drywall from below, so no attic access or ceiling removal is needed. You shut off the breaker, confirm the power is dead, cut holes between joists, run cable, wire each housing and push it into place.
Remodel housings versus new construction cans
Recessed lights come in two housing styles. New construction housings hang from bars nailed to open joists before the drywall goes up. Remodel housings are made for finished ceilings. They slide up through a hole in the drywall and are held by spring clips or tabs that clamp down on top of the ceiling material.
A third option has taken over many remodel jobs. Canless, or wafer, LED lights are thin disks with a small separate junction box. They need little space above the ceiling, which helps where joists are shallow or crowded with pipes and ducts, and most install through the same kind of hole.
Whichever you pick, confirm the housing suits your ceiling. Remodel clips grip a specific range of ceiling thickness, which is listed on the box or in the instructions.

IC and airtight ratings on remodel light boxes
Two labels on the box deserve your attention. An IC rating means the fixture is designed for insulation contact, so attic insulation can lie against it. Non-IC housings need clearance from insulation. If there is insulation above your ceiling, or might be later, buy IC rated.
Airtight, often marked AT or ICAT, means the housing limits air leaking between the room and the space above. The Building America Solution Center’s recessed lighting code brief explains that model energy codes call for fixtures in the building envelope to be labeled for air leakage of no more than 2.0 cfm when tested to ASTM E 283, and sealed with a gasket or caulk where they meet the ceiling. Ceilings below an unconditioned attic are where this counts most.
Planning the layout around joists and wiring
Find the joists before marking any holes. A stud finder works on most drywall ceilings, and a small test hole in a spot a light will cover can confirm what is above. Remodel housings need to sit between joists, not on them.
Figure out your power source. Many remodel jobs tap an existing ceiling fixture box or a wall switch box. Make sure the switch box has room for extra cables, and look for ducts, pipes and existing wires before cutting. A flashlight and a small inspection mirror through a test hole help.
For spacing, the manufacturer’s spec sheet often suggests a layout based on beam spread and ceiling height. Keep lights far enough from walls that they wash light down the wall instead of throwing a bright scallop high on it.
Local code or permit rules may apply to adding lights or extending a circuit, so check with your city or county building department before you start.
Cutting, wiring and mounting each remodel light
- Turn off the breaker for the circuit. Test the wires at the box with a non-contact voltage tester, and check the tester on a known live outlet first so you know it works.
- Trace the cutting template that came with the housing onto the ceiling and cut with a drywall saw or hole saw. Keep the edge clean, since the ceiling holds the fixture.
- Fish cable from the power source to the first hole, then from hole to hole. Fish tape and flexible drill bits help reach across joists.
- Connect the wires in the housing’s junction box, black to black, white to white and ground to ground, then close the box cover.
- Push the housing up through the hole and engage the clips so they clamp the drywall.
- Install the LED module or bulb and trim, restore power and test each light.
If you find aluminum wiring, a crowded box, no ground wire or anything you cannot identify, stop and call a licensed electrician.
Permits, inspections and dimmers after the install
Many jurisdictions require a permit for adding fixtures or extending a circuit, even when a homeowner does the work, plus an inspection before the job is closed out. Rules vary widely, so call your local building department. Unpermitted electrical work can also cause problems when you sell the house.
If you plan to dim the lights, choose a dimmer the LED maker lists as compatible. Mismatched dimmers can cause flicker or buzzing. The dimmer and the circuit both have load limits printed on them, so check those against the lights you add.
If a bigger renovation is on the calendar, time the lighting with it. Knowing how long a kitchen remodel takes helps you catch the stage when ceilings are open and wiring is far easier.
Frequently asked questions
Can I install recessed lighting without attic access?
Yes. Remodel housings and canless wafer lights are designed to go in from below through a hole in the finished ceiling. You fish cable between holes with fish tape or flexible drill bits. Attic access makes the wiring easier, but most ceilings can be done without it.
Do I need an electrician to install recessed lighting?
Many homeowners handle it, but that depends on your skill and your local rules. Some areas require a permit and inspection, and some limit who may do electrical work. Call an electrician if you find aluminum wiring, a crowded box, no ground wire or anything unfamiliar.
Can recessed lights touch insulation?
Only if they are IC rated, which means approved for insulation contact. Non-IC housings need clearance from insulation so they do not overheat. The rating is printed on the box and on the housing label, and if you cannot find it, treat the fixture as non-IC.
What is recessed lighting?
Recessed lighting is a light fixture set into the ceiling, so the housing sits hidden above the drywall and only the trim and light source show below. The housings are often called cans, while newer canless LED versions are thin disks with a separate junction box. The result is even overhead light with nothing hanging into the room.
How do you replace recessed lighting?
Turn off the breaker first. To update a working can, you can usually swap only the bulb and trim for an LED retrofit kit that screws into the existing socket. Replacing the housing itself means disconnecting it from below and wiring in a new remodel housing that fits the same hole and carries the right IC rating.
How do you measure recessed lighting size?
Measure the inside diameter of the housing opening, the can itself, rather than the outer edge of the trim. That number is the size to match when you buy new trims or LED retrofit kits. Note the housing's brand and model from its label too, since some trims and kits fit only certain housings.